Canon Rebel T6 | Canon 50 mm Lens | Dreamy Presets (promo code ‘MISSYONMADISON‘) | Adobe Photoshop | Adobe Lightroom | VSCO | Airbrush | Facetune | Snapseed

Happy #NationalColorDay ya’ll!
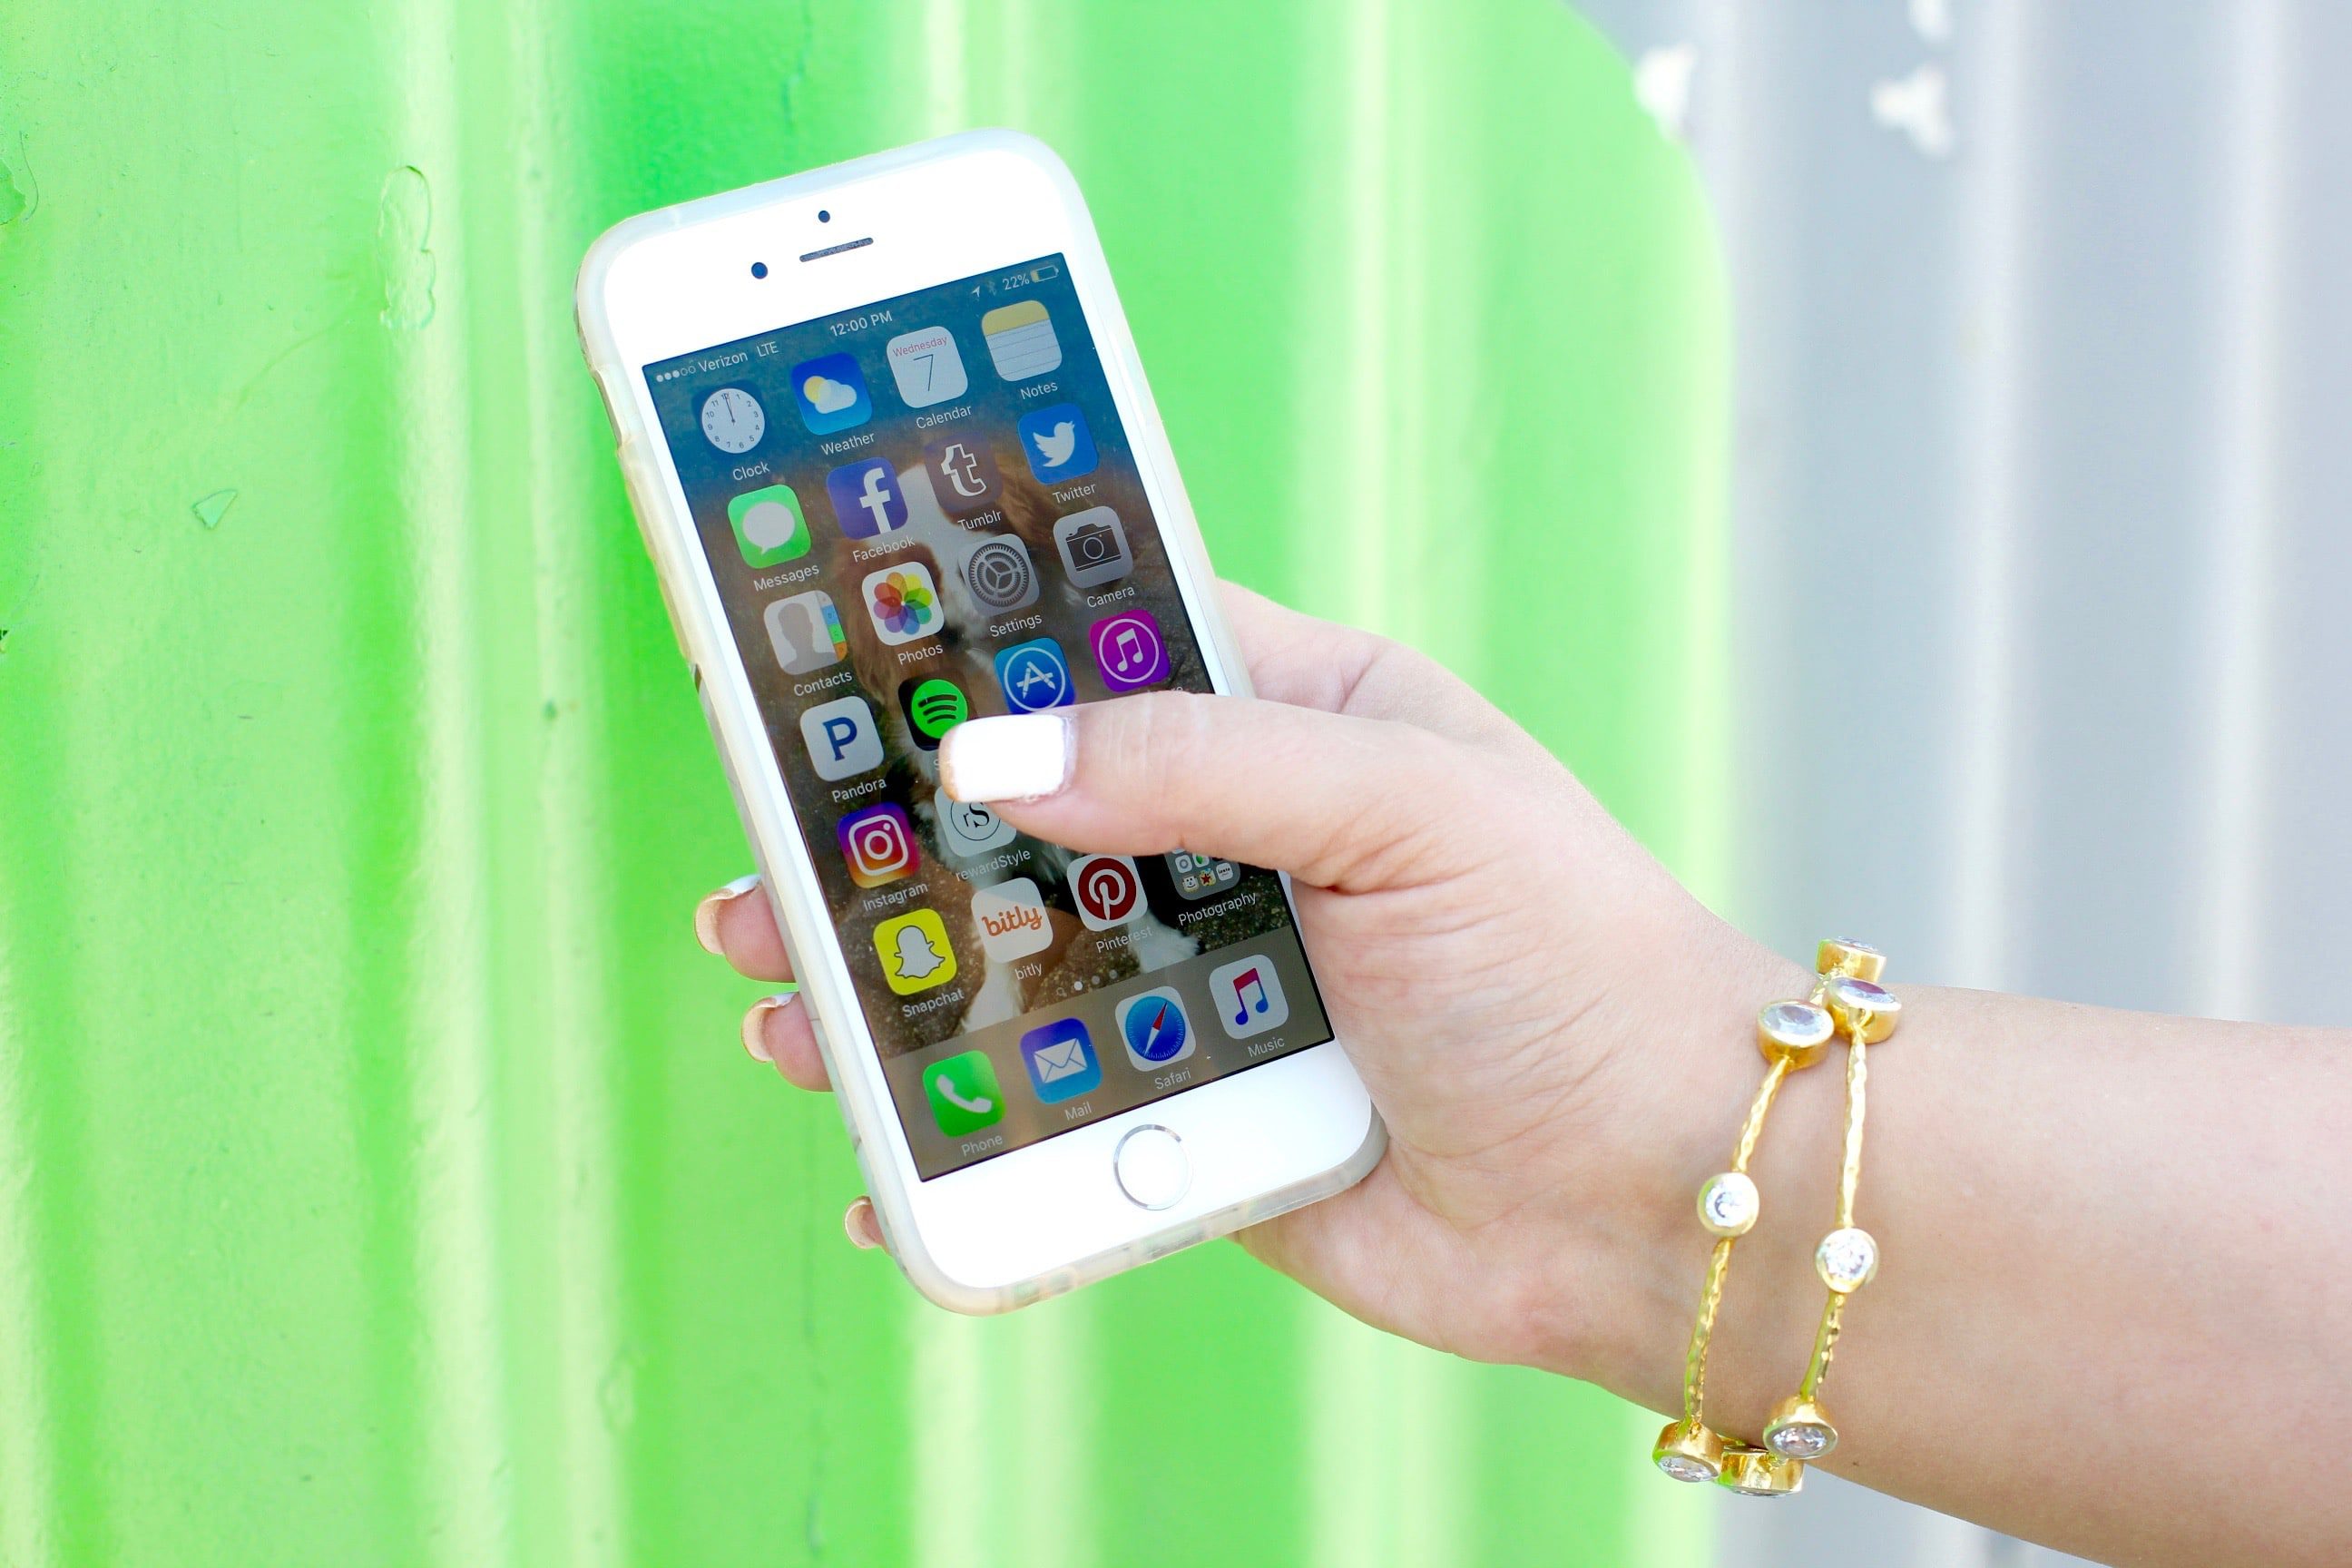
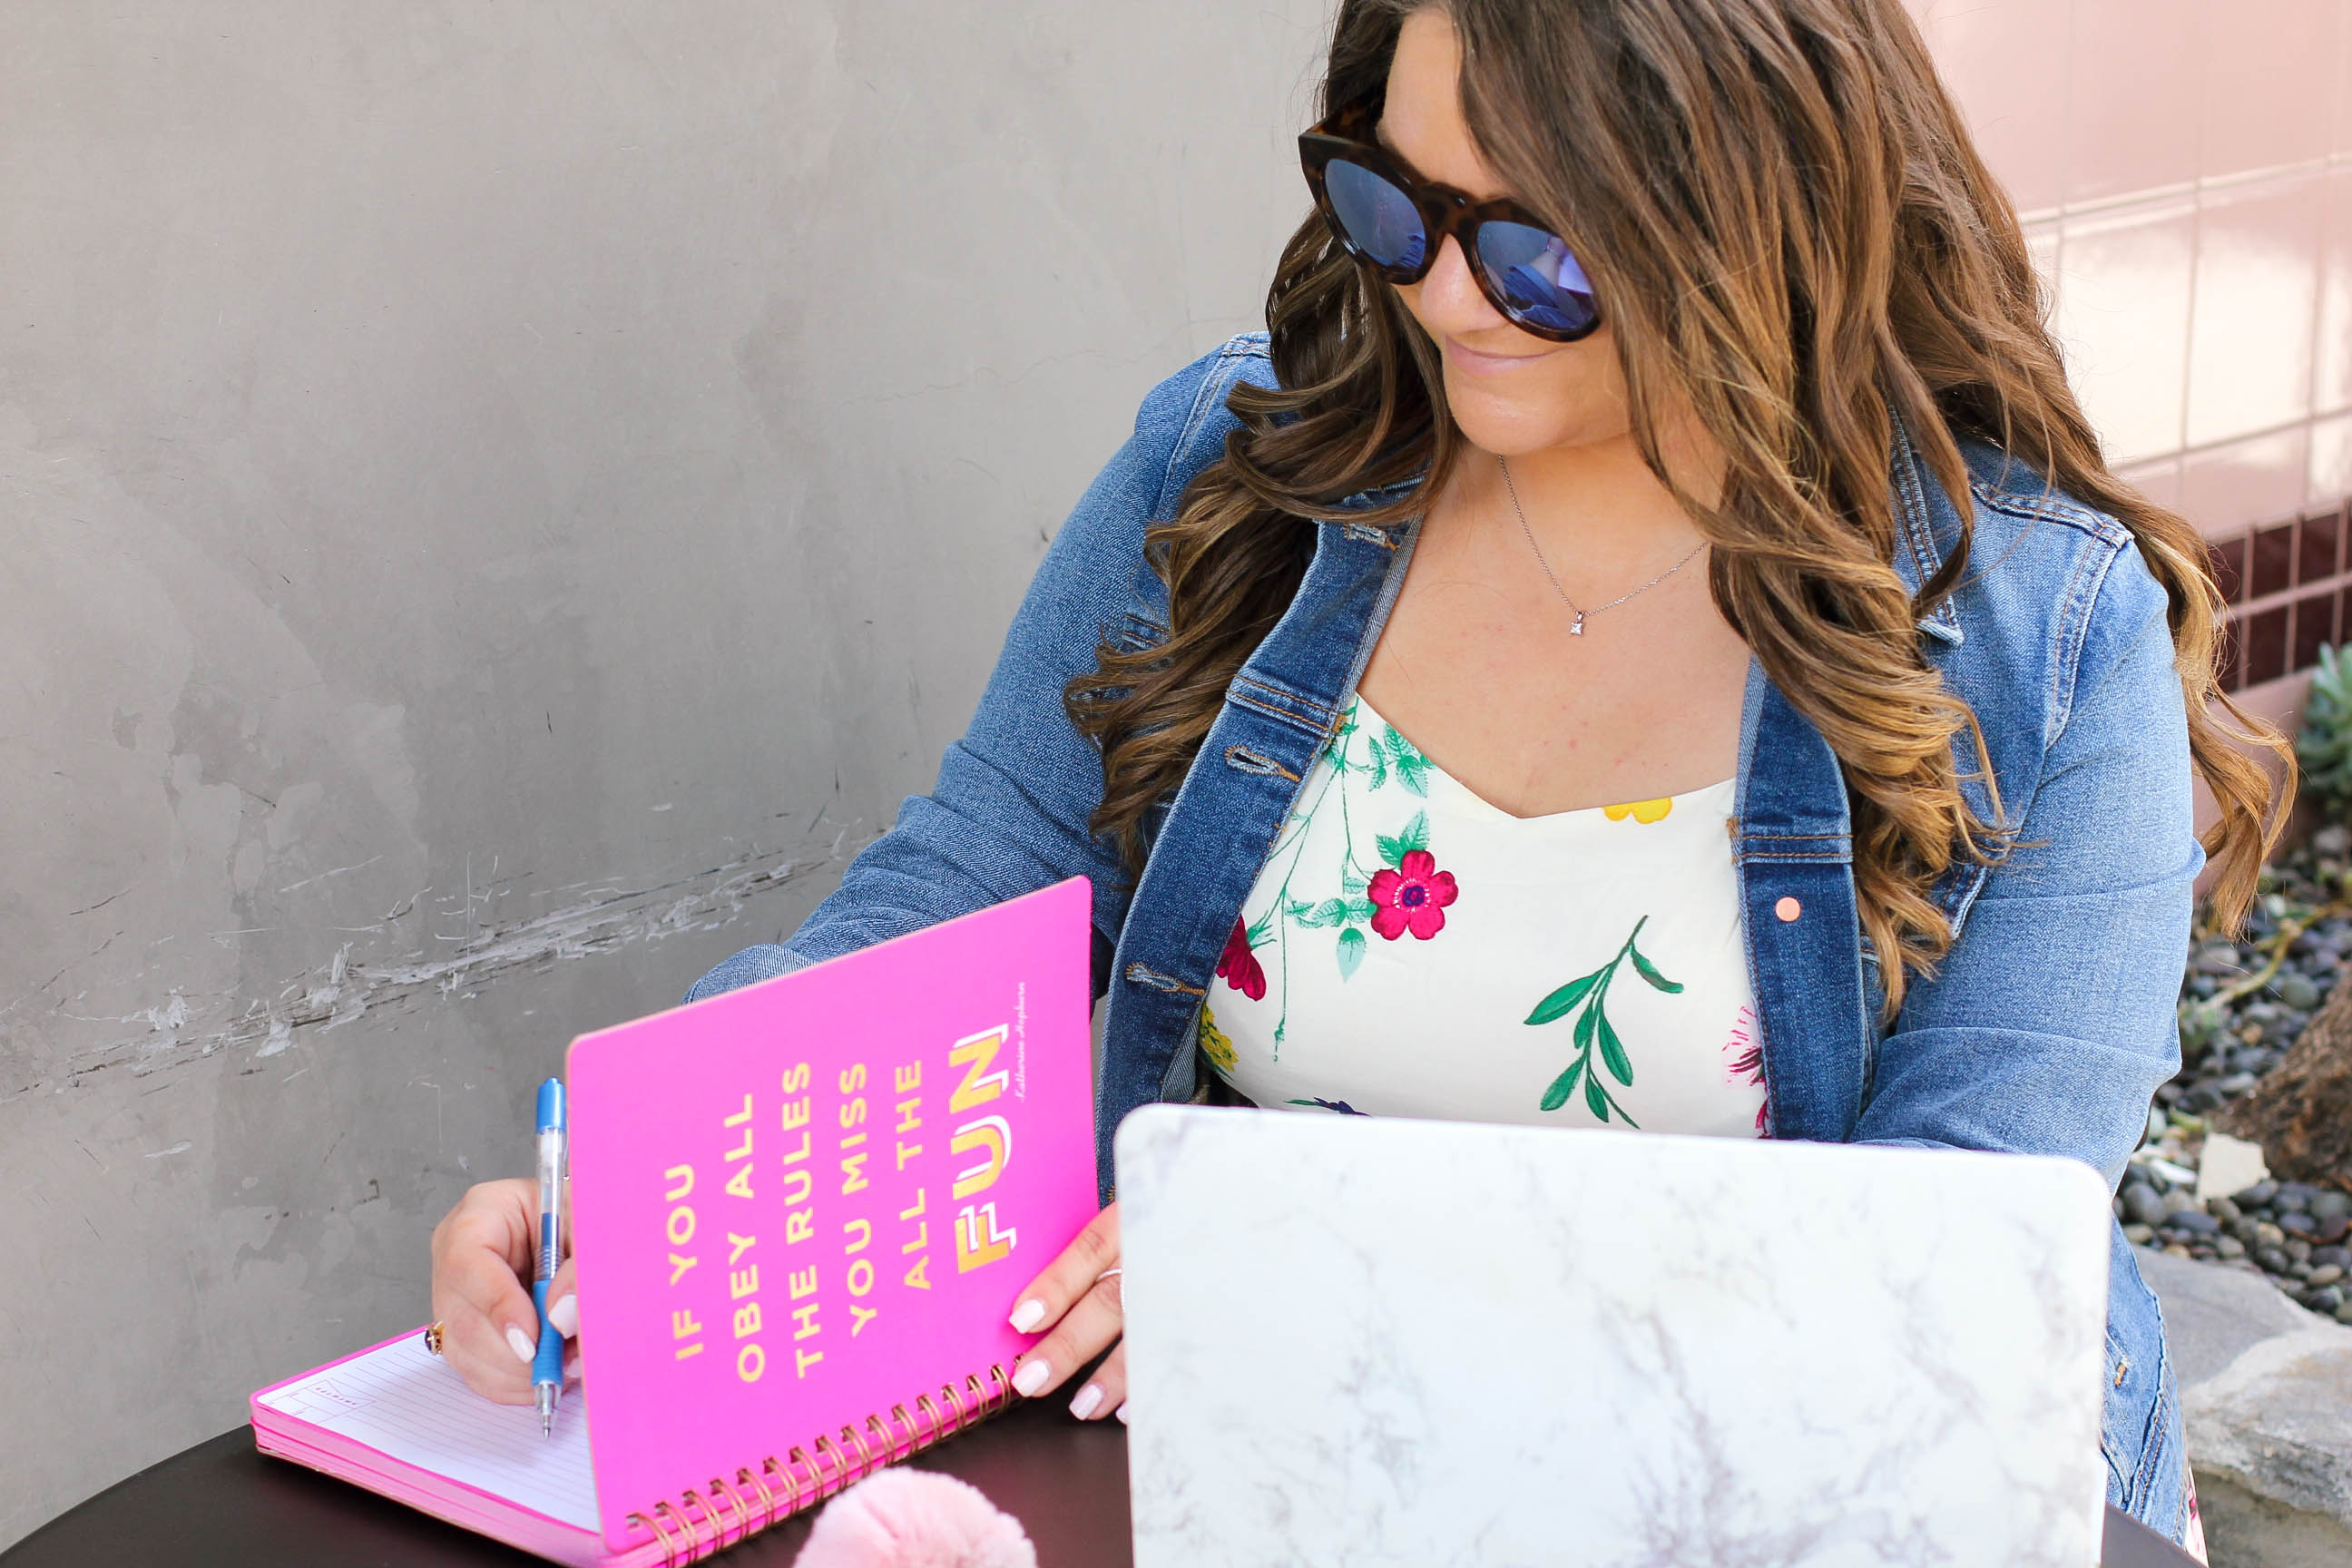
To celebrate one of my favorite days (because I LIVE for color), I am doing a much requested post about how I edit my Instagram + blog photos! From light + airy to bright + colorful, creating the perfect ‘feed‘ all comes down to what programs you are using to edit your photos, so I am rounding up some of my favorite apps along with what I use to snap the perfect ‘insta-worthy‘ photo!
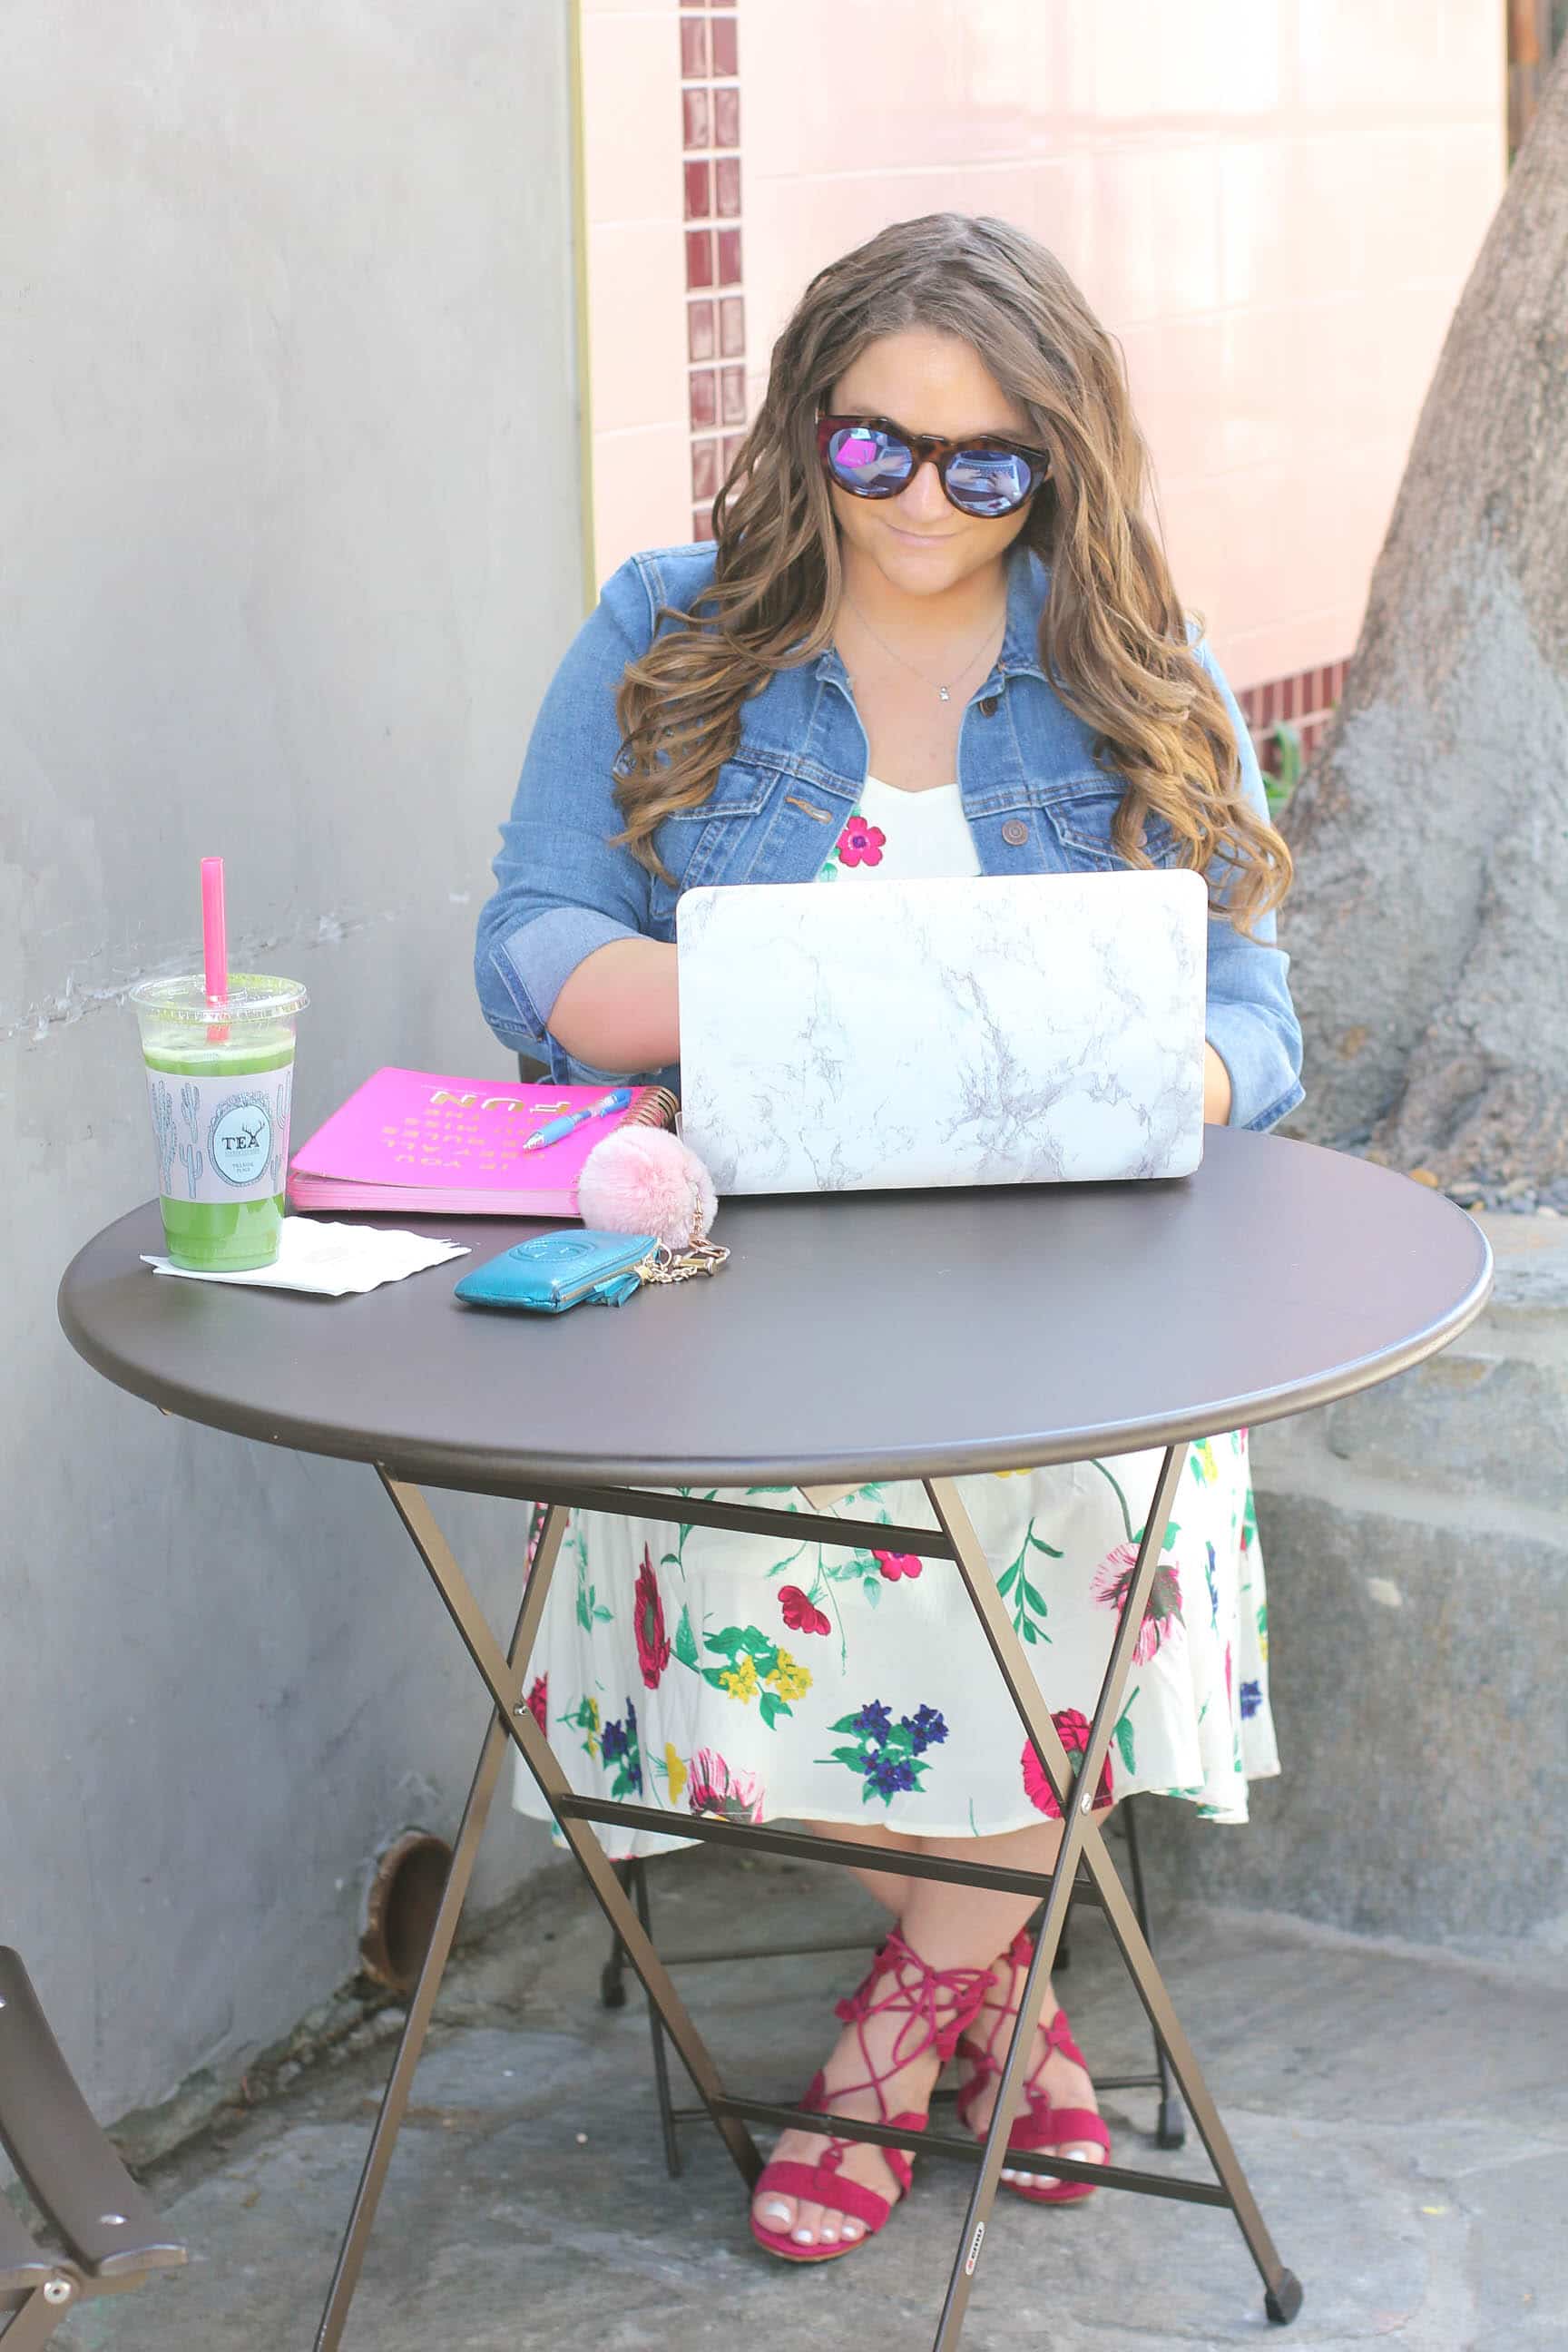
First thing is first…my equipment!
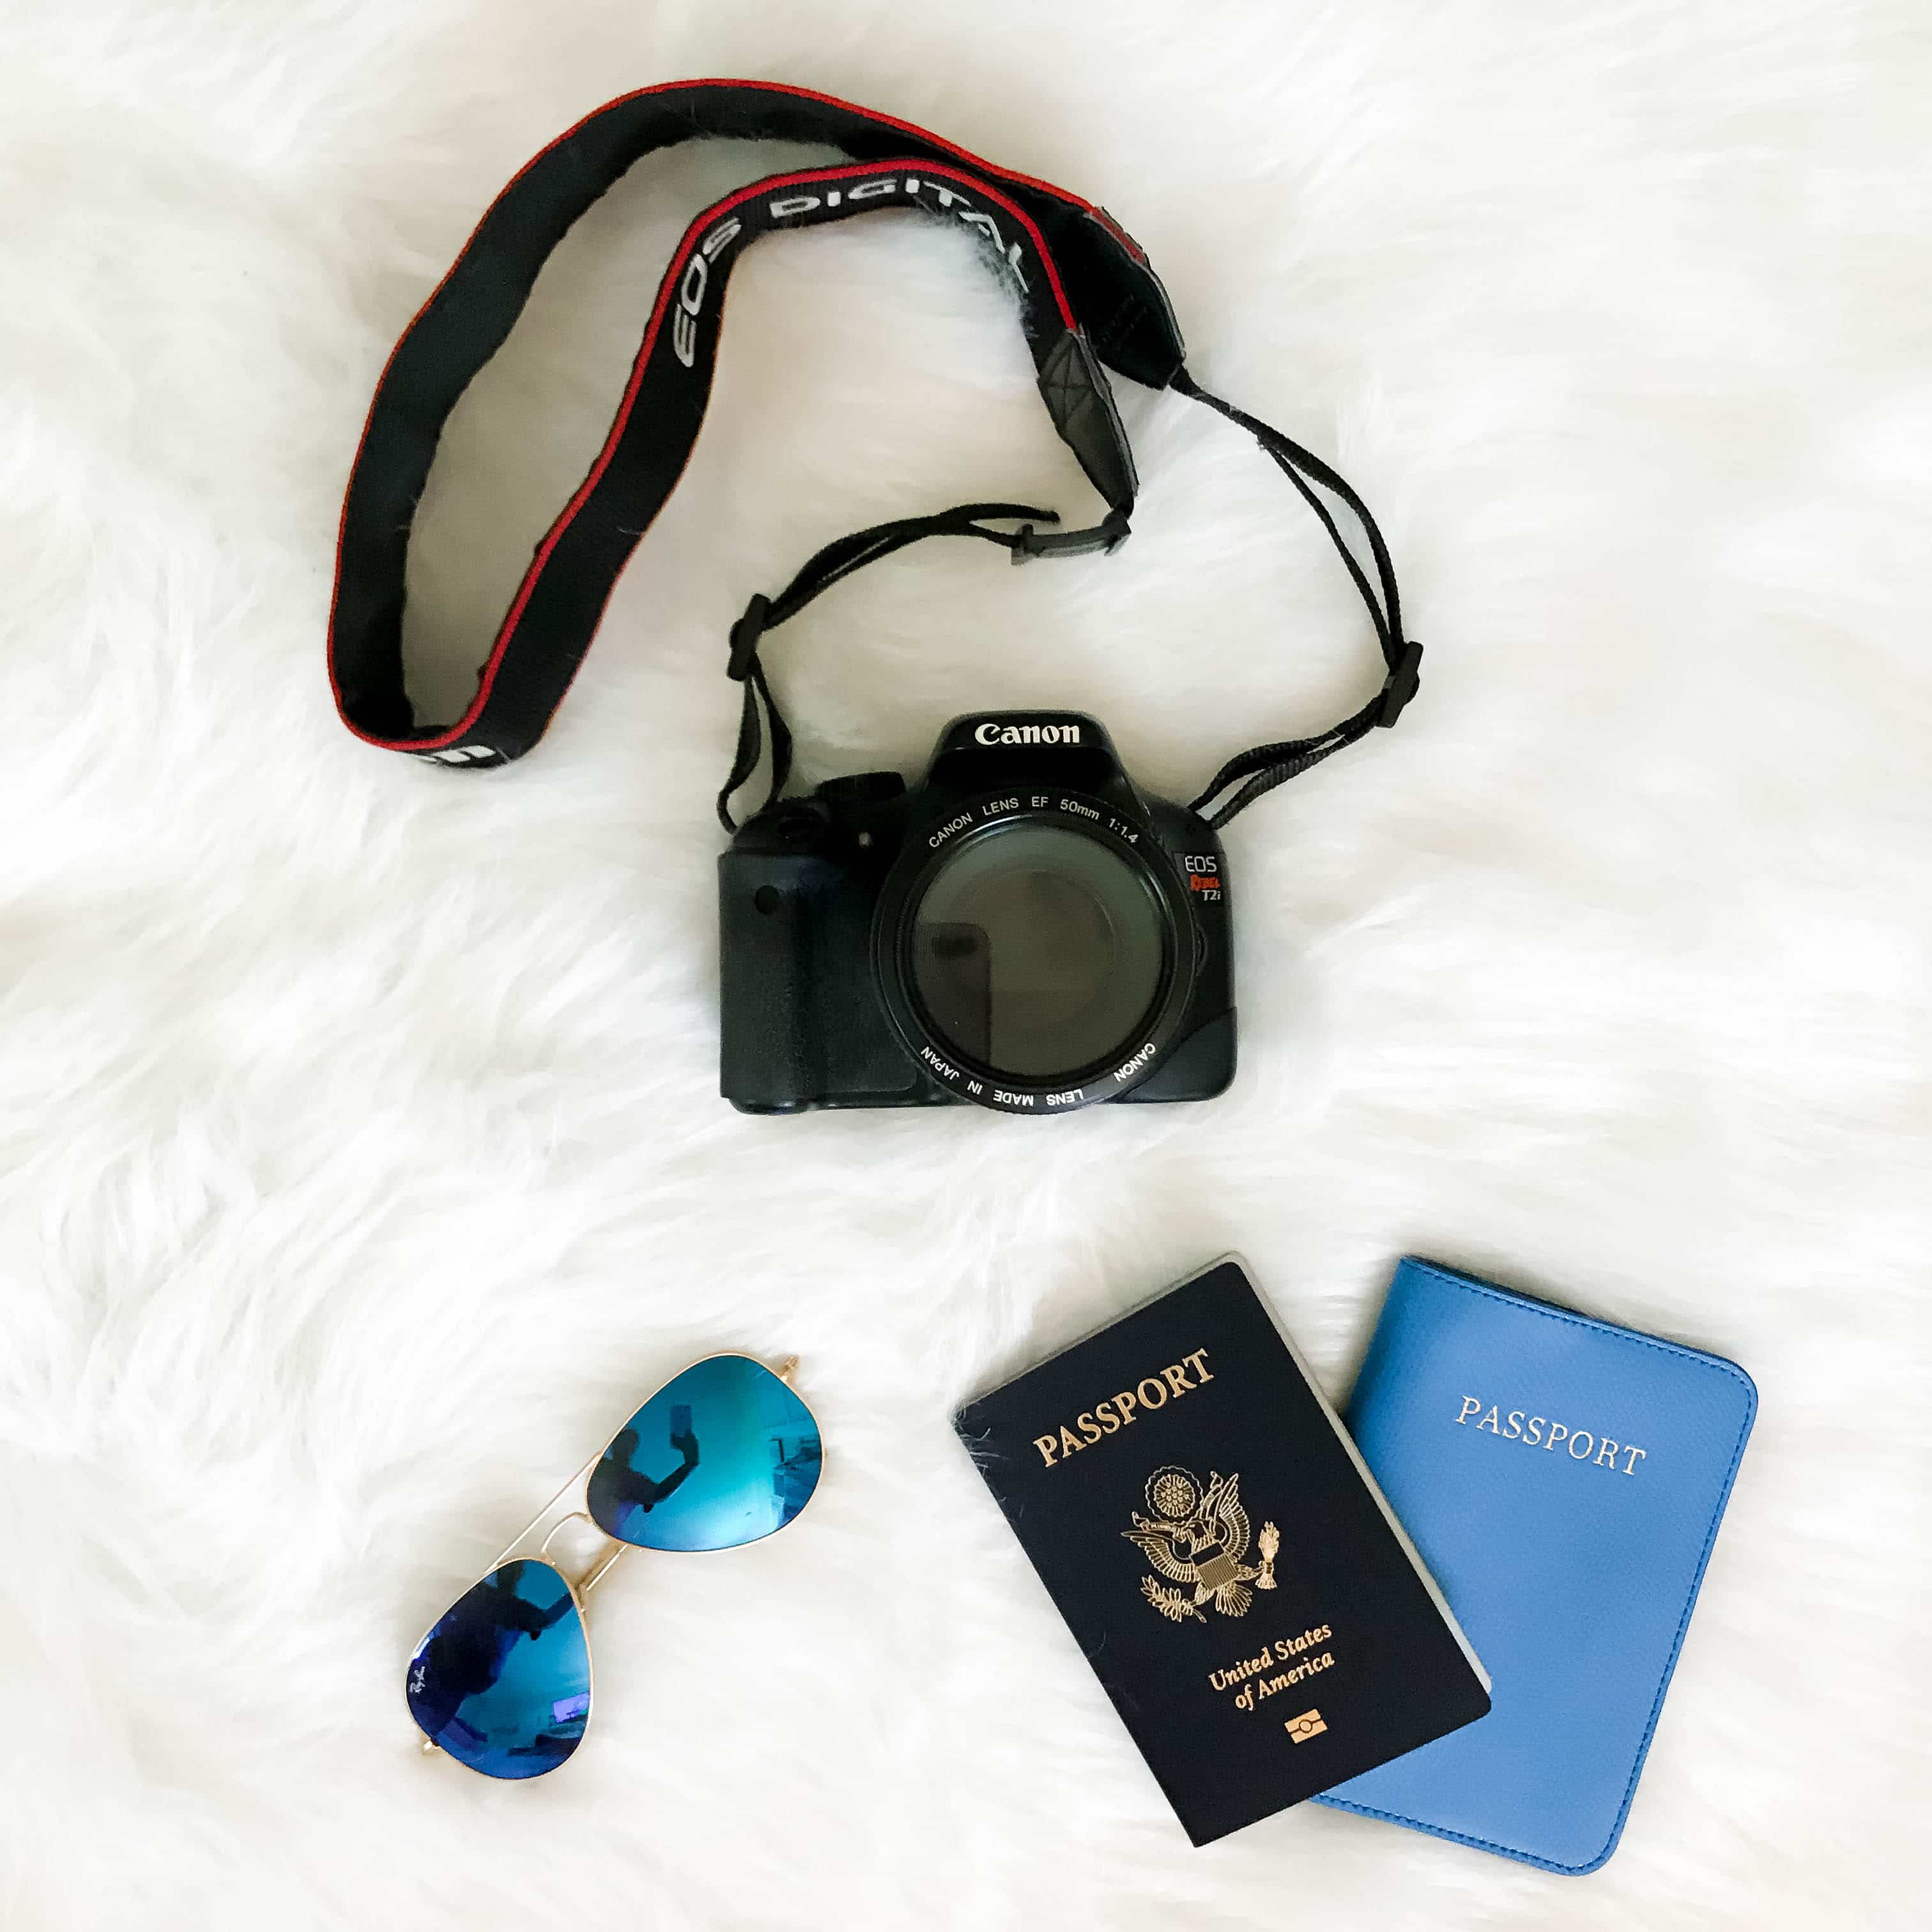 For years (and pretty much ever since I started blogging) my go-to camera has been my Canon Rebel T2i (newest version T6 available HERE). It is a nifty camera that captures the perfect shots + is under $500! While the more expensive the camera, the better the features and sharper the image, I truly feel this is the PERFECT camera for anyone wanting to get amazing quality images without breaking the bank!
My lens of choice is the 50mm (under $150) and this helps achieve the ‘object in focus + background blurred‘ effect that so many bloggers have for their photos.
The rebel is able to capture video in addition to photography and you can always ‘up’ it’s game by swapping out lenses and programming.
I typically shoot a few times a week and upload directly onto my computer however if I need to post on the go, I use the Eyefi mobile memory card that connects to an app on your phone so all of the photos from the memory card sync directly onto your phone for instant editing and uploading! It is truly the best thing ever for a blogger on the go. Most cameras have built in wi-fi at this point but if your camera doesn’t, this is a great solution that is affordable (under $50).
Now that you snapped the perfect photo, it is time to get to the editing! Below is a roundup of some of my favorite programs I use both on my computer and on mobile to edit everything from my skin to lighting to color + more!
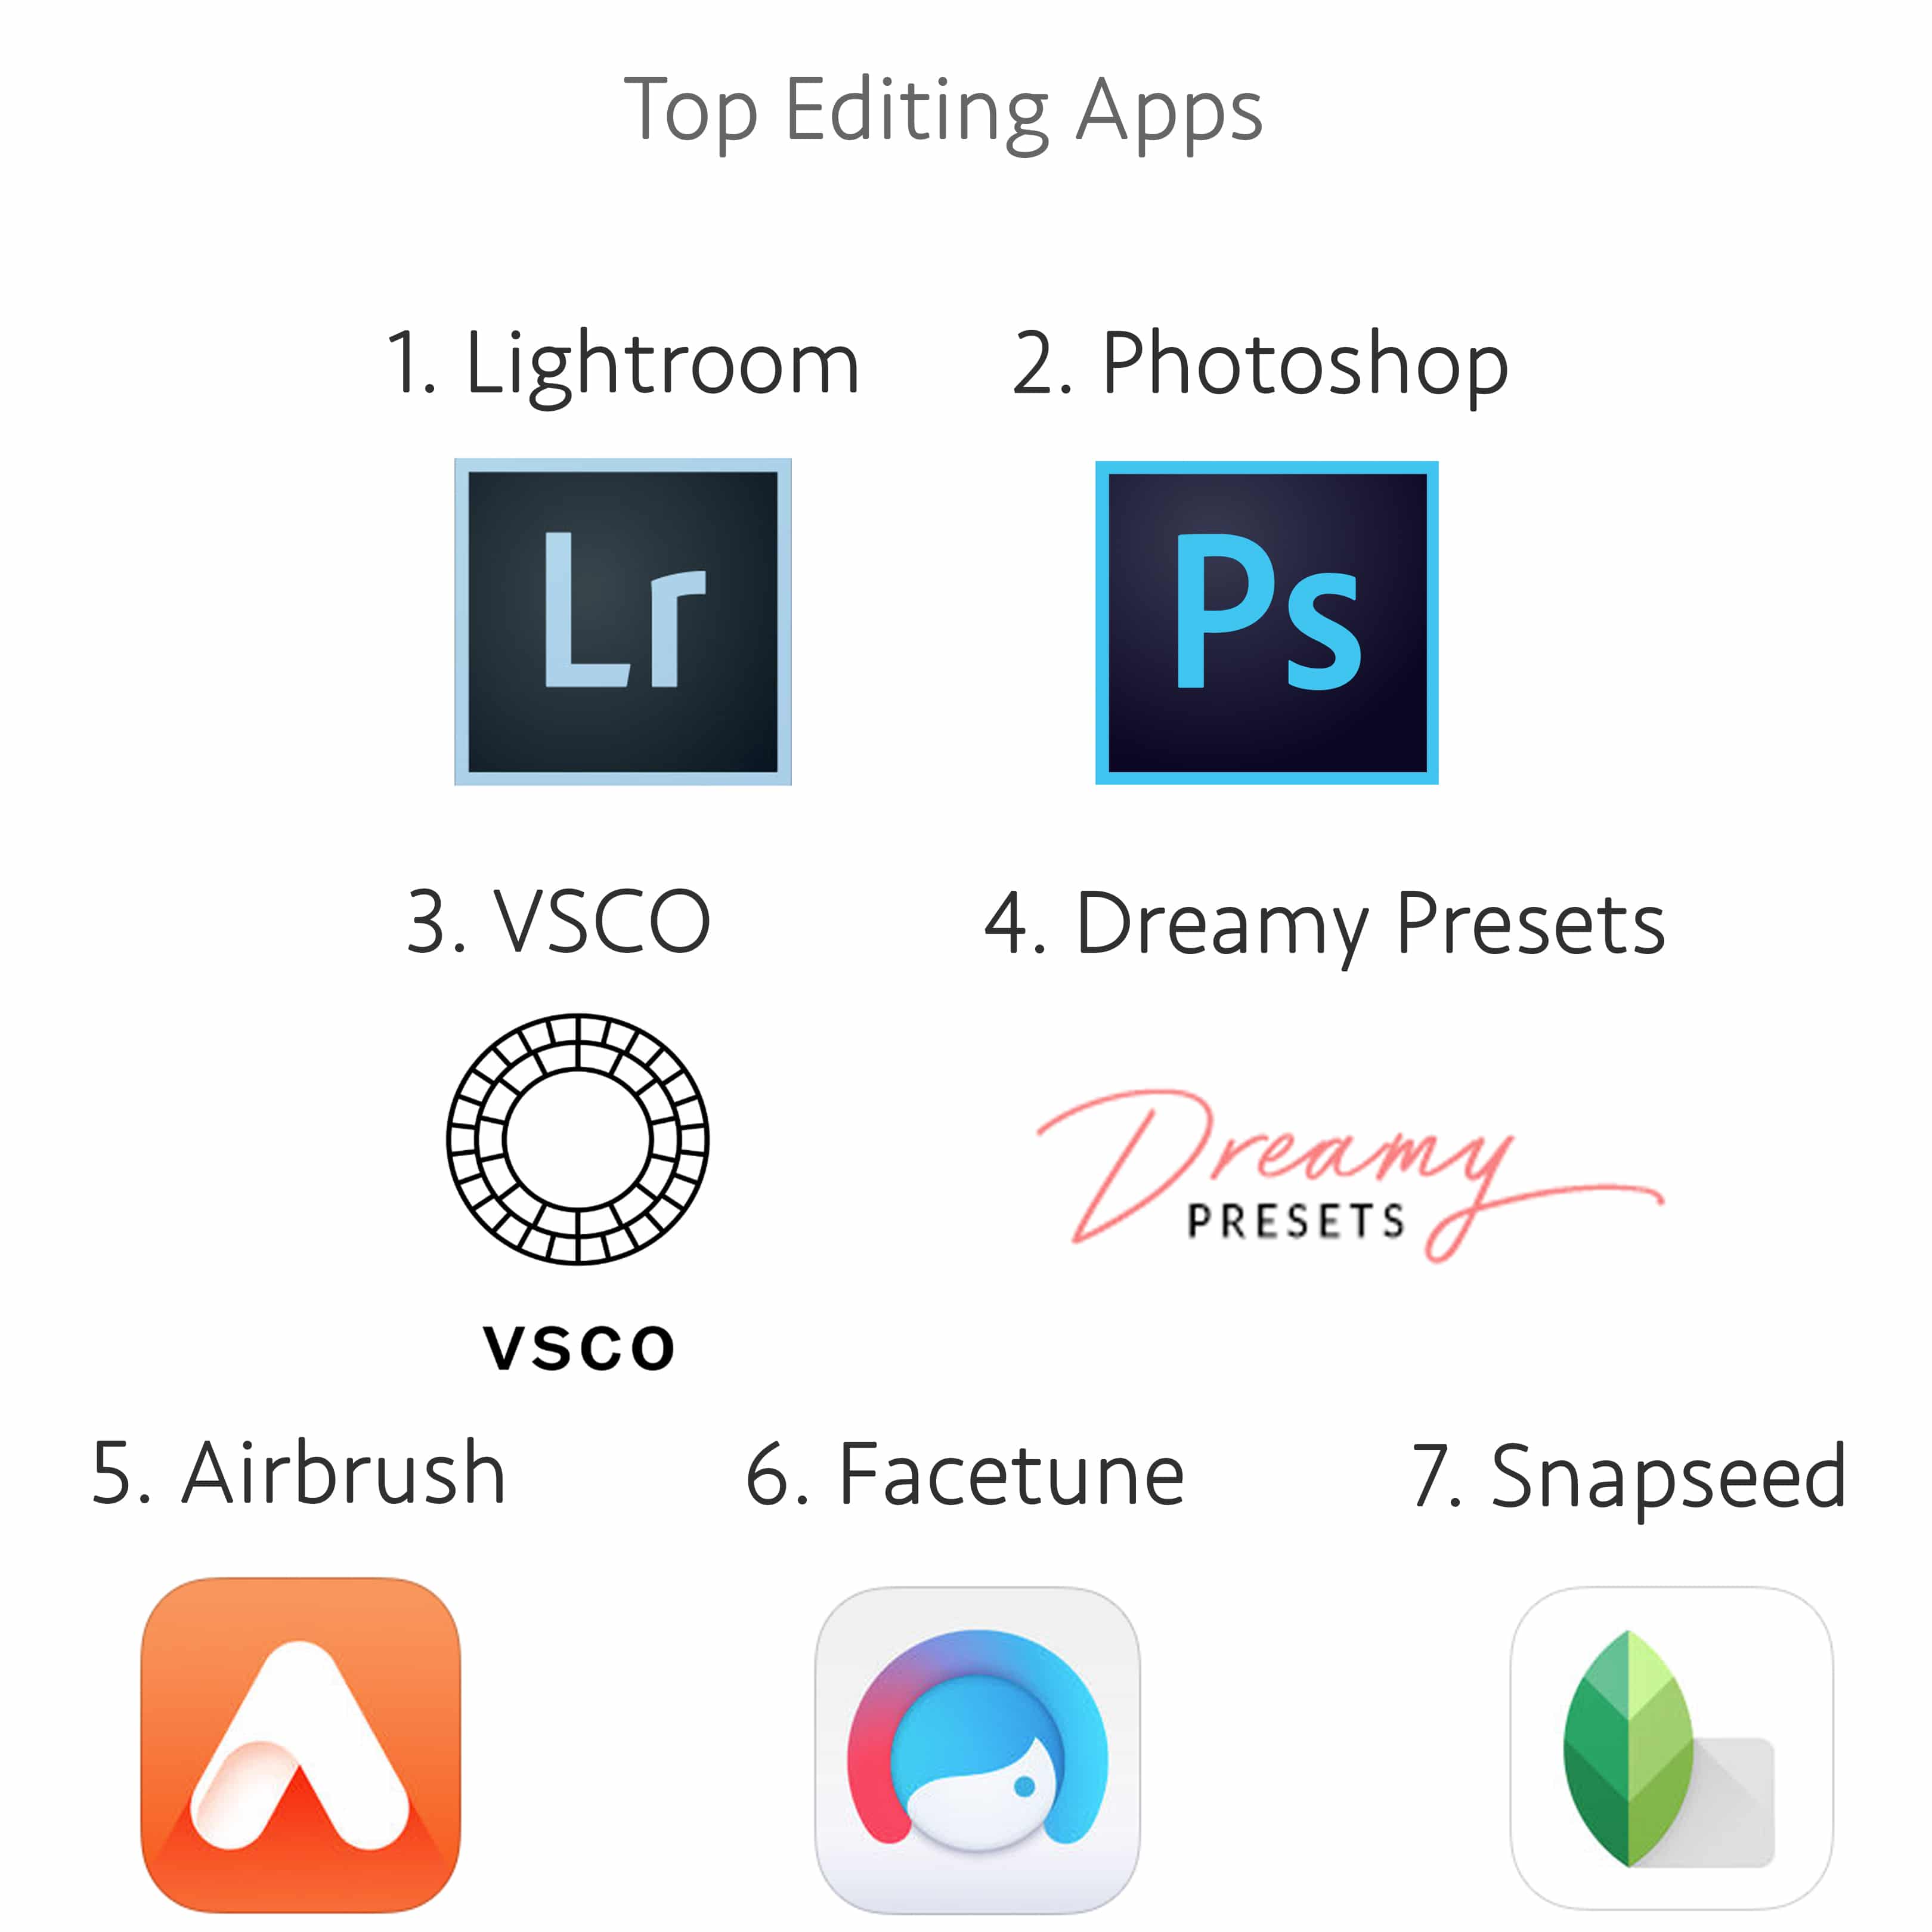
1.Lightroom – I use Lightroom on every single photo I take. It allows you to mass edit your photos + copy and paste settings so all of the photos in your collections are consistent. I typically upload all of my photos from my iPhone + camera into Lightroom, categorize them into various collections + then get to editing. Lightroom is packed with various ‘presets‘ that are pre established editing settings helping make editing photos easier. To get more curated presets for a certain aesthetic, see programs 3 + 4!
2.Photoshop – I mainly use Photoshop to remove unwanted objects from an image, create collages or make any more aggressive edits other than basic lighting, saturation + hue.
3.VSCO – This is one of the most common used editing apps. This app is available on your phone and also has presets to load into your Lightroom program. Whether you are brightening, fading, saturating or more, this app has everything you need to perfect your edits.
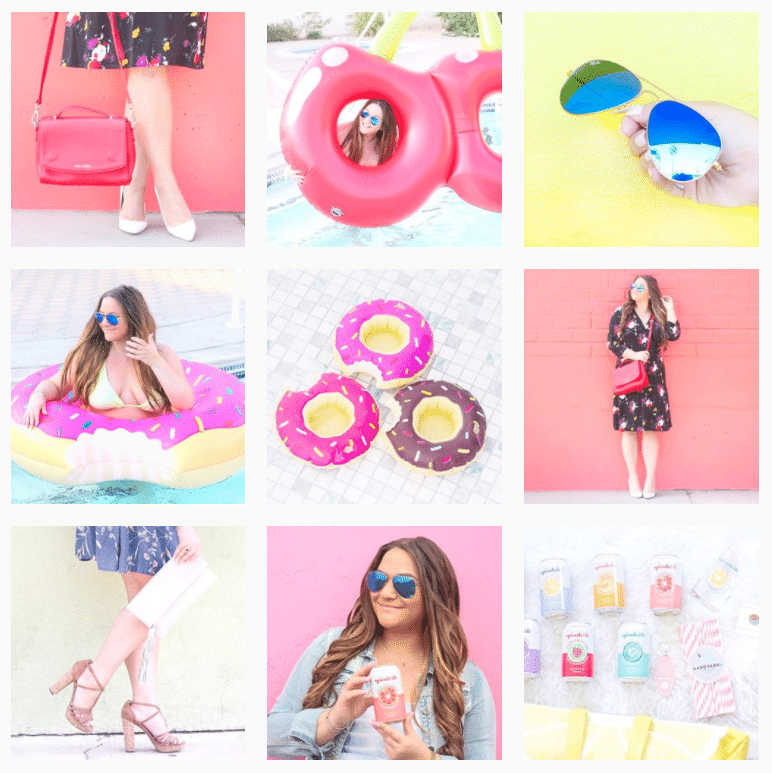
4.Dreamy Presets – I LOVE Dreamy Presets! For the past year, all of my photos have a Dreamy Preset edit on them. I love their Santorini and Barcelona preset collections. They are easy to download and add to your Lightroom program and they make editing photos so much easier. They save me time and make all of my photos stay consistent, just look at my feed below! Head over to their site + use code MISSYONMADISON at checkout for an extra discount!
iPhone apps 4 – 6 are perfect for those ‘finishing touches’…
5.Airbrush – I put every image I plan on posting on Instagram through Airbrush + simply hit the ‘magic wand‘ button. It instantly gives the photo an airbrushed effect + balances the color + lighting.
6.Facetune – The Facetune app is great for smoothing your skin, fixing those out of place hairs, removing blemishes etc.
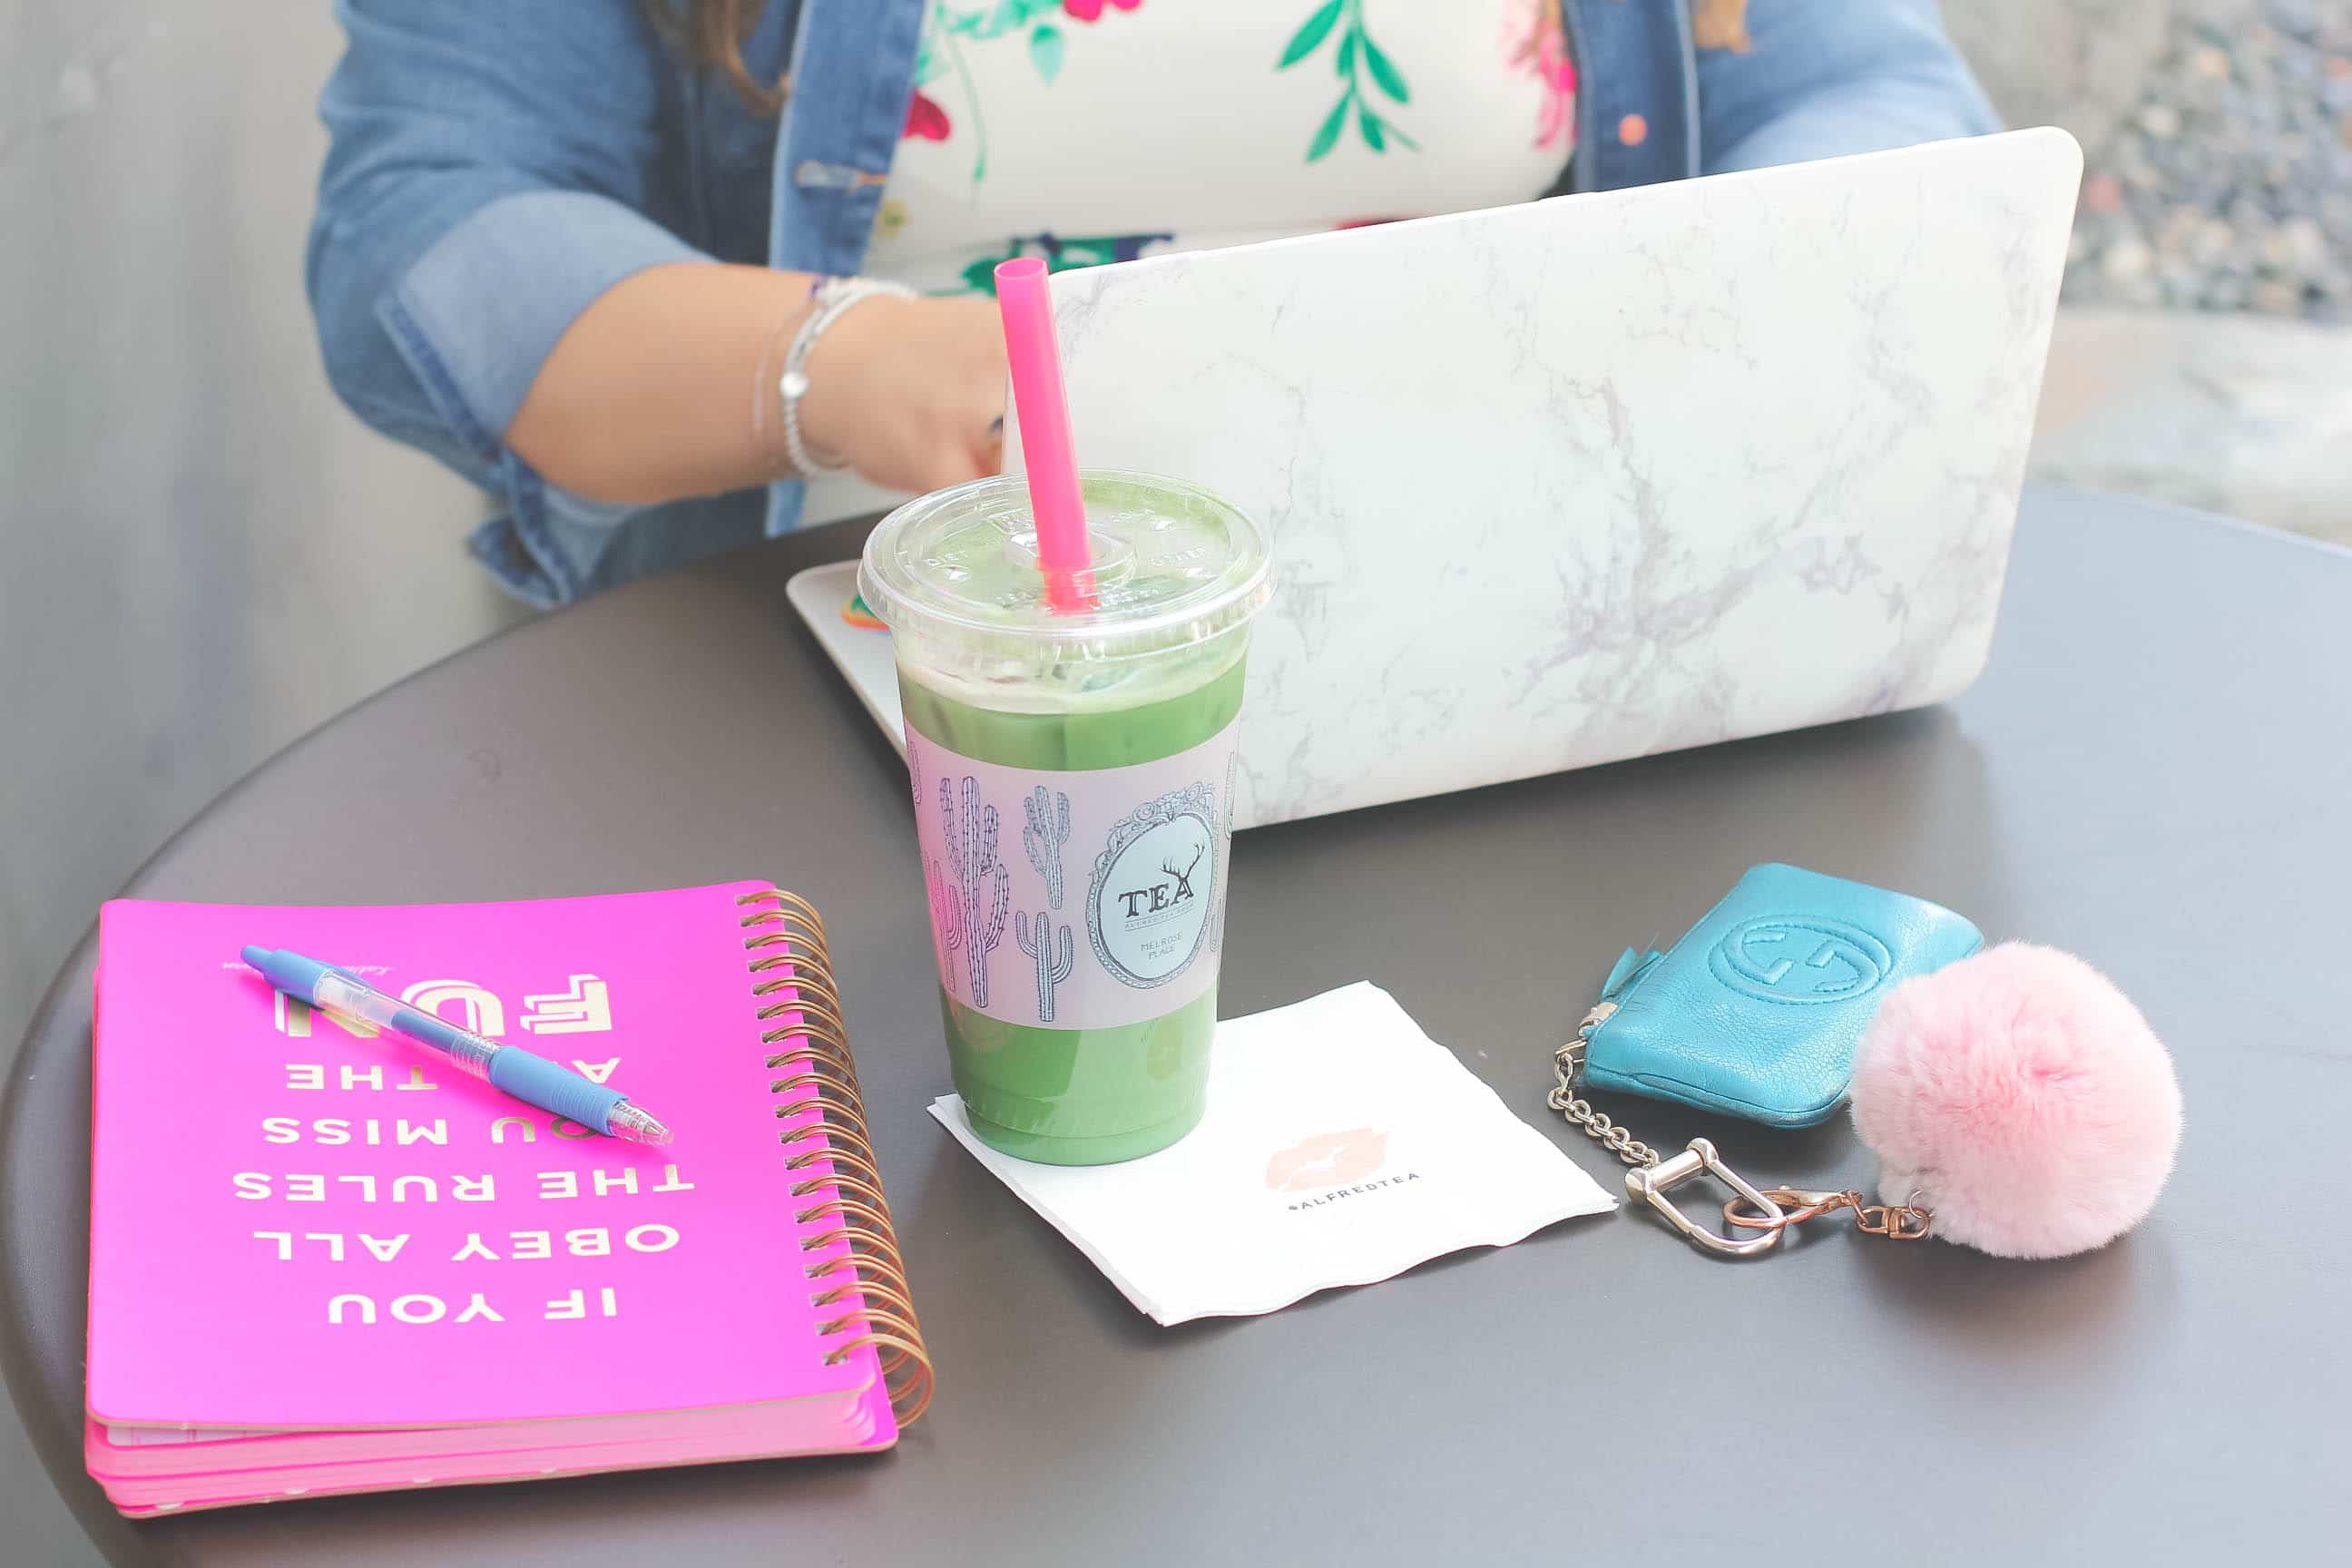
7.Snapseed – I LOVE this app! So you know when you have a photo + only certain areas need retouching (whether it be removing shadows, adding brightness etc), well Snapseed is great for editing those hard to get areas without editing the entire photo. I use it on flatlays where the lighting may not be even, head shots where only certain spots need saturation (lips, eyes etc) + more.
PLANNING is KEY!
In order to plan out what my Instagram feed will look like, I use an app called Planoly. It is truly a lifesaver. It allows you to see what images work best with your feed, imports your current Instagram layout + even allows you to move around photos to assure it ‘flows’ (my boyfriend hates when I ask him a million times if my feed ‘flows‘ but hey now-a-days it plays a big role in growing your Instagram audience).
If there are other apps + programs you use I would love to hear about them!
Be sure to comment below + I will be sure to check them out ♥
To purchase + download my go-to programs + equipment, shop below!
Canon Rebel T6 | Canon 50 mm Lens | Dreamy Presets (promo code for discount ‘MISSYONMADISON‘) | Adobe Photoshop | Adobe Lightroom | VSCO | Airbrush | Facetune | Snapseed
Twitter | Facebook | Instagram | Pinterest | Tumblr

4 Comments
I personally love taking photos and posting them online. With VSCO, you get just that. This photo editing app was perfect for touching up my photos. This was able to take basic photos and make them look almost professional.
January 18, 2018 at 1:08 AMThanks for sharing such an informative post.
I loved this article. The way you showed the step-by-step process of photo editing tips is awesome. I’m definitely going to try this my home.
March 11, 2018 at 1:08 AM