Follow:
Browsing Category:

Tips + Tricks

    LifeStyle, Tips + Tricks

    How To Create Instagram Story Icons…

    how to create instagram story icons, diy, instagram story diy, instagram highlight icons, instagram story icons, how to create instagram story icons, bloglovin, blogger how to, style blogger, fashion blogger, web tutorials, diy hacks, instagram hacks, instagram story diy,

    Happy Tuesday Ya’ll ♥

    After a long vacay in Florida + a relaxing President’s Day Weekend, I am back at it…one of my first projects to tackle? Creating more fun content for all of you! (luckily this is something I love to do so content creation comes easy + is fun – the way it should be)!

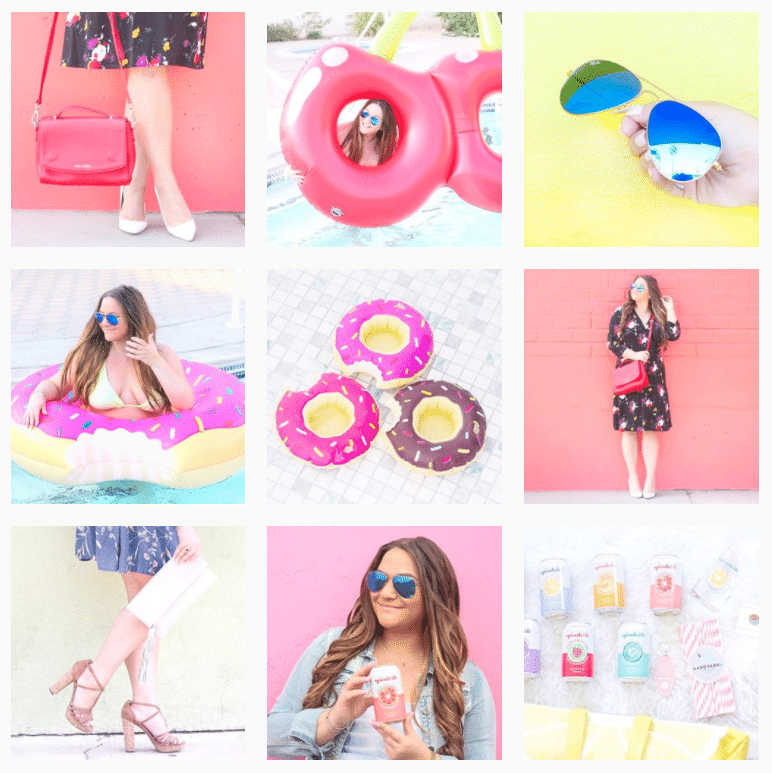
    I LOVED all of the positive feedback from ya’ll on my Photo Editing 101 post where I shared my tips + tricks for editing photos to create a chic + clean instagram feed. My Instagram aesthetic is light + airy, with pops of color (because who doesn’t love a little bright spot when scrolling through their Instagram feed)?!

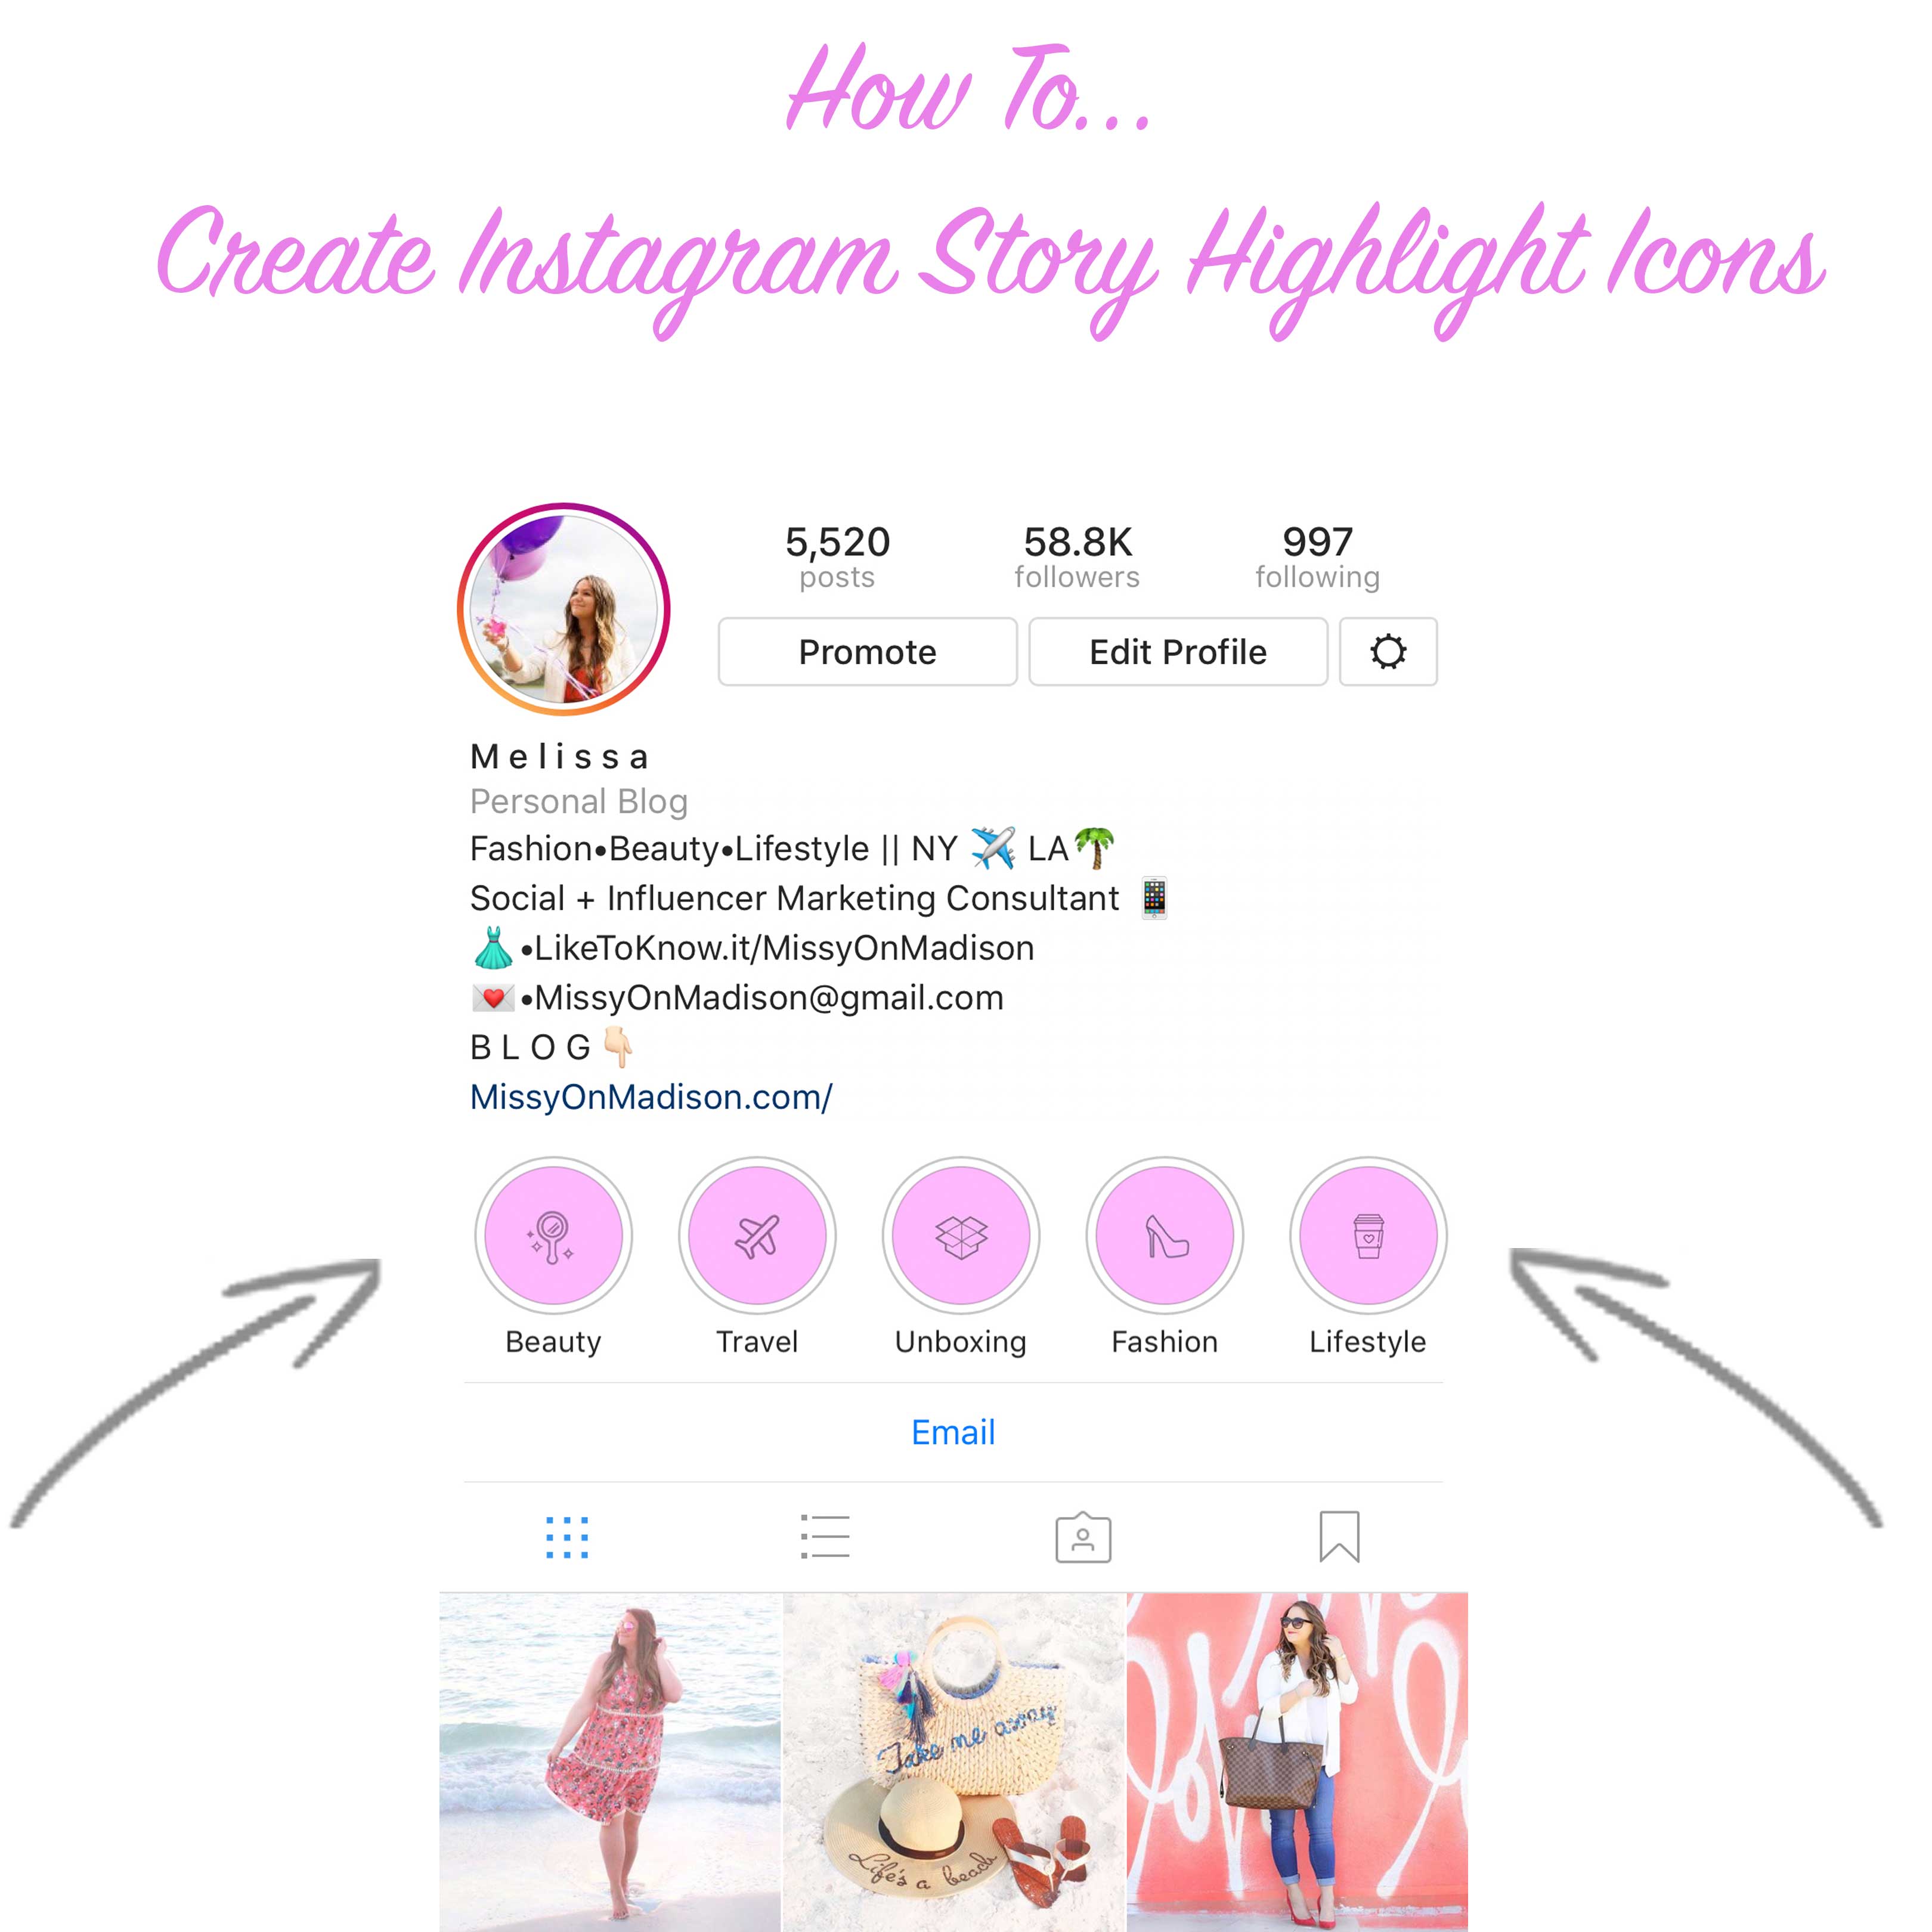
    Anyways, today I wanted to share a little DIY tutorial for something I have been seeing all over Instagram – Instagram Story Highlight Icons!

    ICYMIInstagram Story Highlight Icons are the little icons that are displayed when adding Instagram story highlights to your profile. Instagram allows you to edit the ‘highlight‘ cover image for each highlight series you create so while you can just choose to have one of the posts from your highlight be the cover image, a lot of people on Instagram have been creating custom icons for different categories of their highlighted posts i.e Fashion, Beauty, Travel etc!

    I right away began bugging my boyfriend to help me make them since he is the photo editing + graphics wiz BUT I ended up figuring out how to create them all on my own + wanted to share!

    STEP 1 – Create Categories

    • Come up with your categories for your Instagram story highlights. I determined mine based on the type of content I post often enough so Fashion, Beauty, Lifestyle, Travel + Unboxing. Categories are completely up to YOU but having an idea of which ones you want will be helpful when choosing icons down the line 🙂

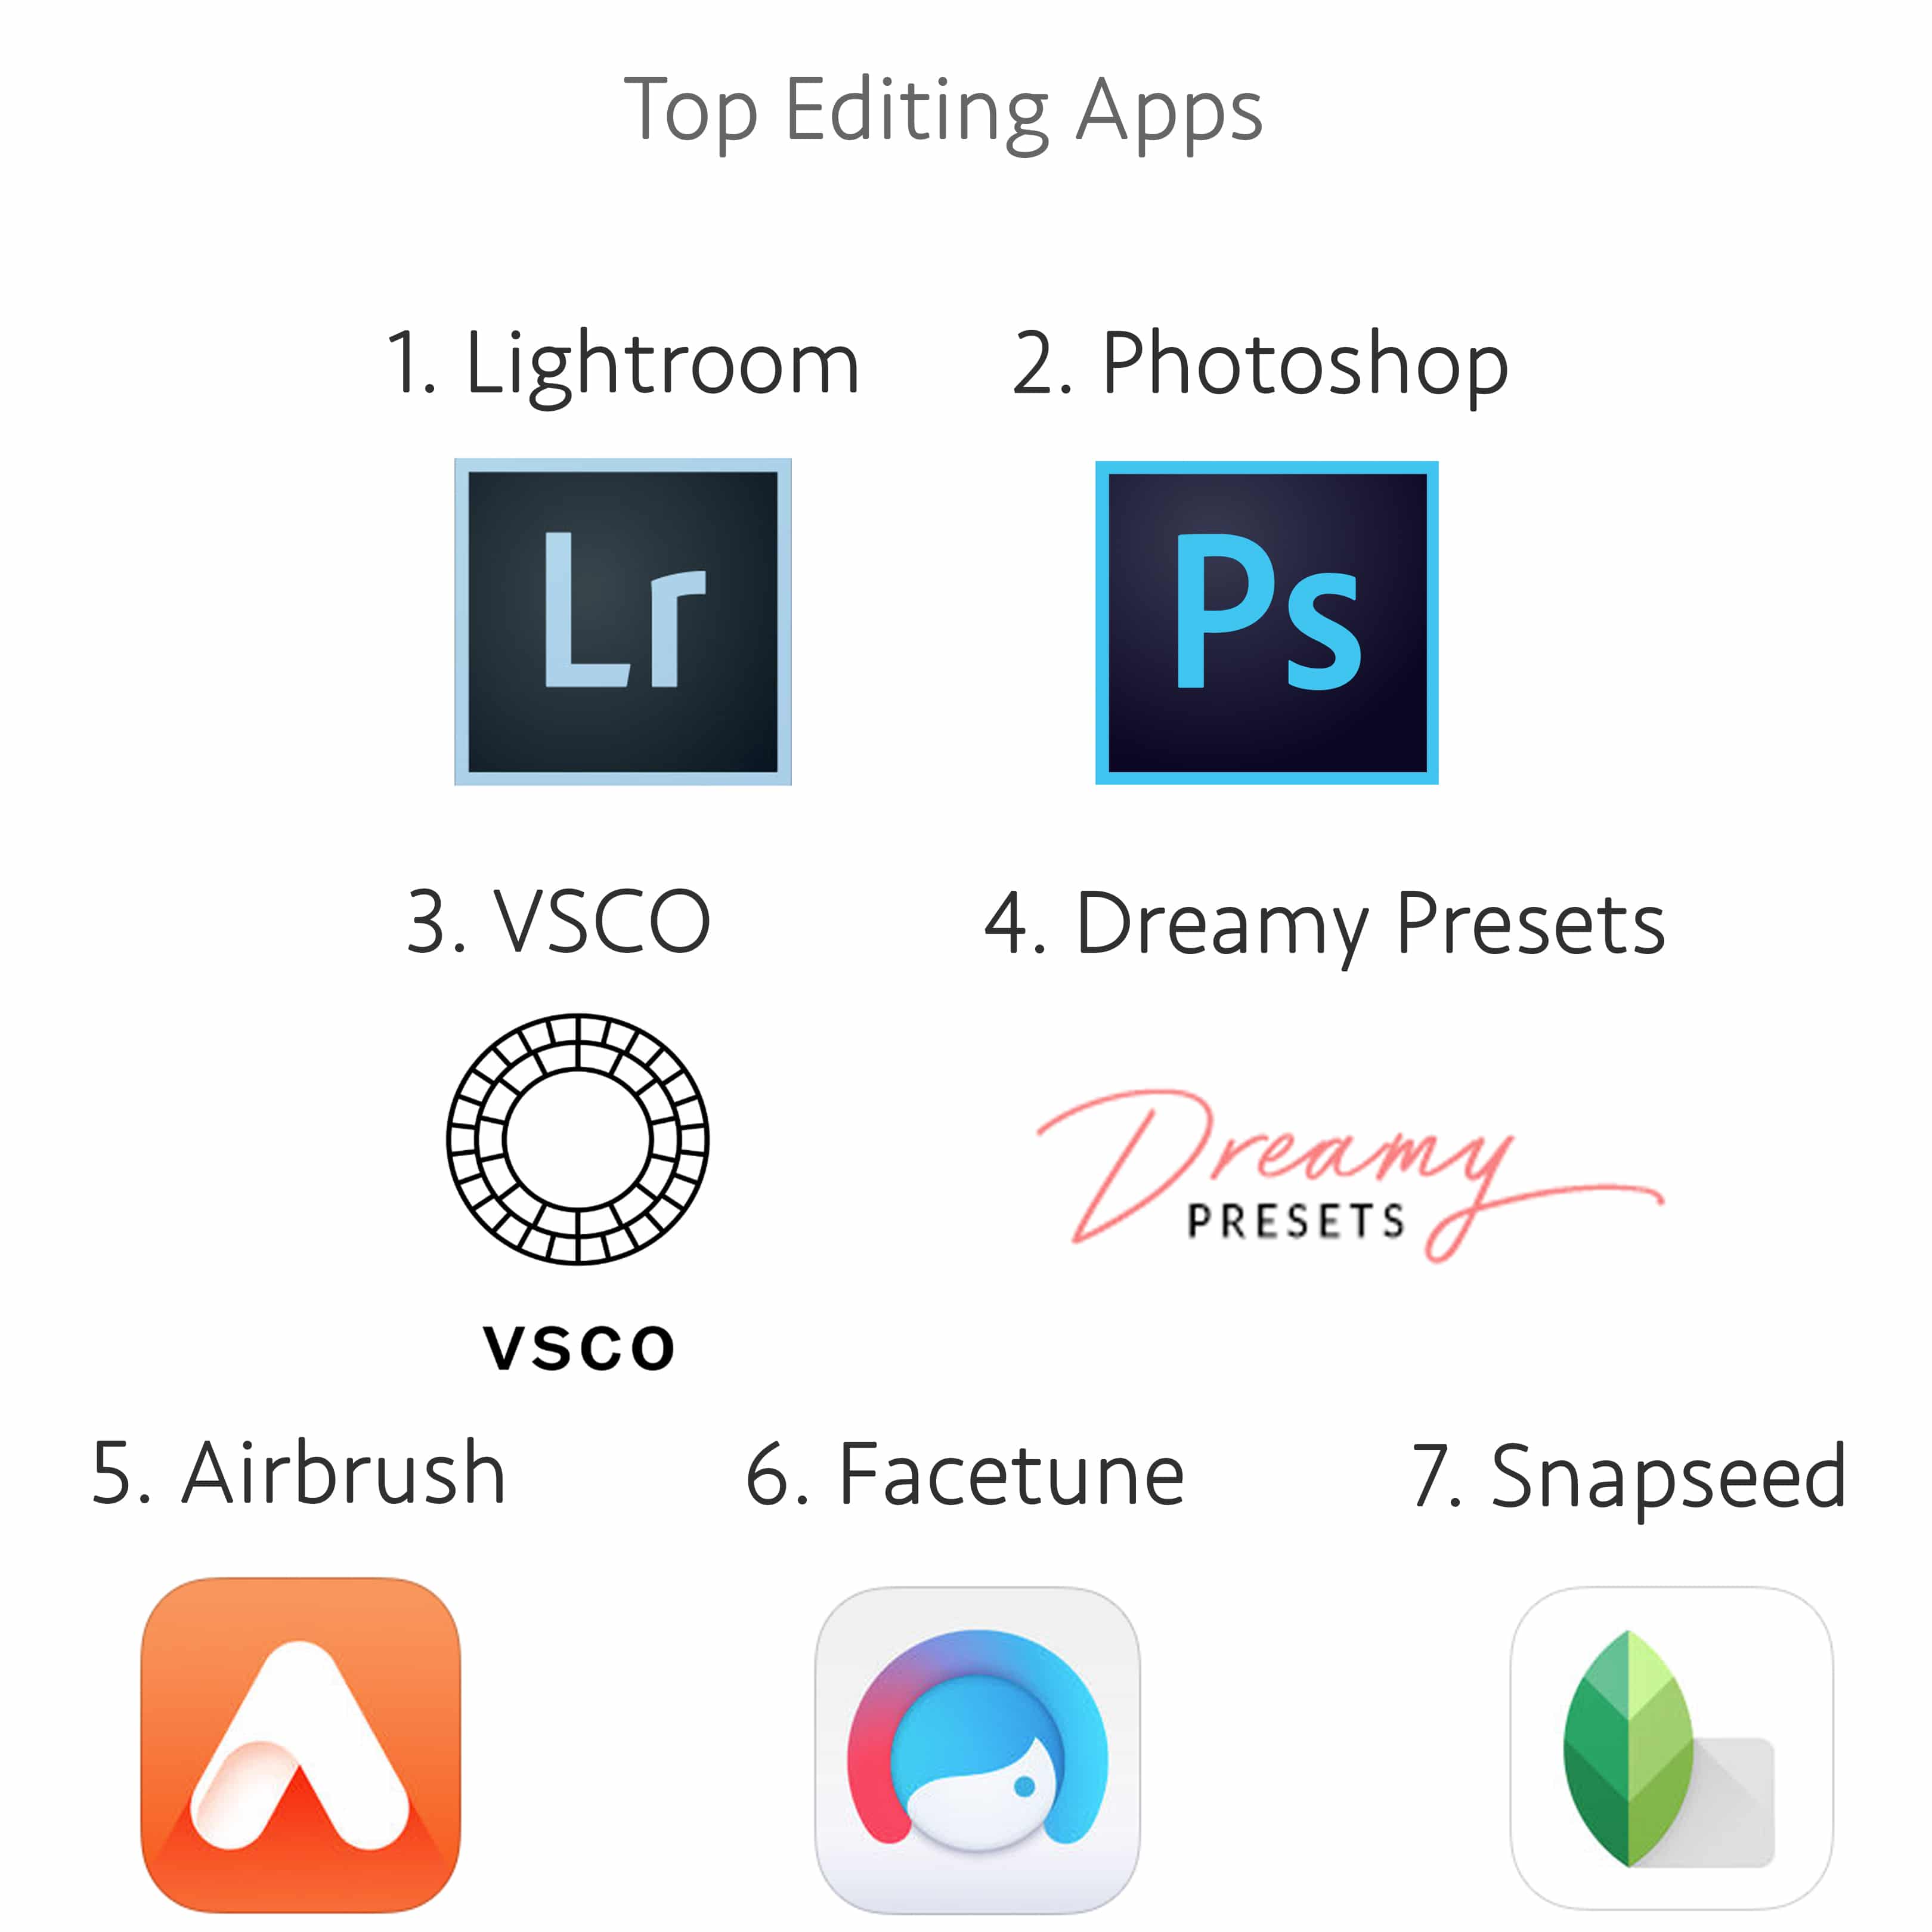
    STEP 2 – Choose Your Program

    • If you are familiar with Photoshop, you can create the highlight images in there OR choose a different more user friendly program like Canva which is super easy to use + has icons built in for you to choose from.
    • Photoshop is great too but you will have to find your icon choices on the web + upload them later (which I did as well for Canva – all about preference in icons).

    STEP 3 – Start Your Project

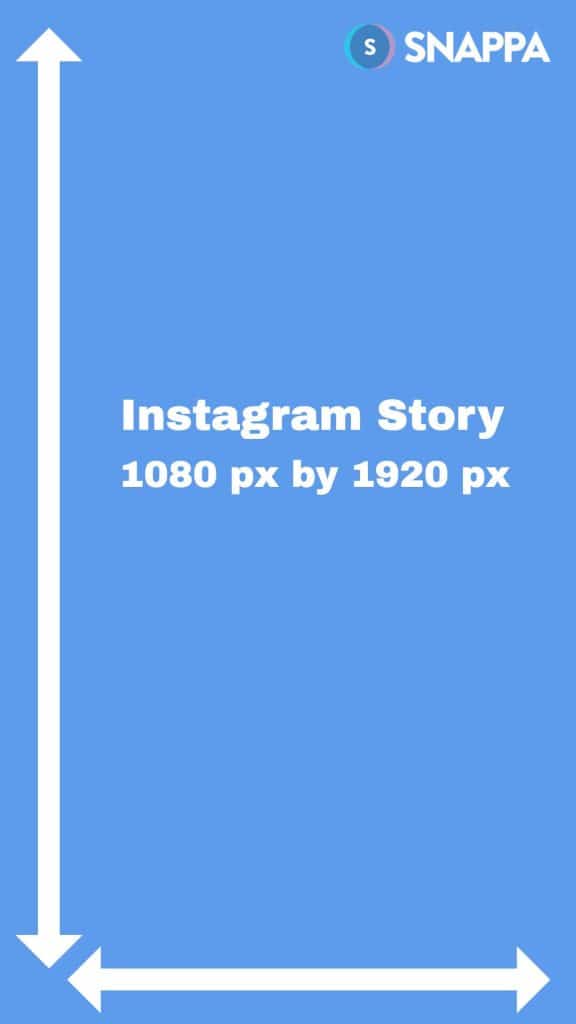
    • Instagram Story Dimensions are: 1080 x 1920 pixels
    • Open up your preferred program + begin a blank project using those dimensions

    how to create instagram story icons, diy, instagram story diy, instagram highlight icons, instagram story icons, how to create instagram story icons, bloglovin, blogger how to, style blogger, fashion blogger, web tutorials, diy hacks, instagram hacks, instagram story diy,

    STEP 4 – Choose Your Background

    • Below is a screen grab from Canva but Photoshop is very similar with the paint bucket tool. Simply choose your desired color or pattern for the background of the image.

    how to create instagram story icons, diy, instagram story diy, instagram highlight icons, instagram story icons, how to create instagram story icons, bloglovin, blogger how to, style blogger, fashion blogger, web tutorials, diy hacks, instagram hacks, instagram story diy,

    STEP 5 – Choose Your Icons

    • Now for the fun part! Choosing your icons.
    • If you use Canva, you can click the ‘elements‘ tab + choose from clipart they have. There are free + premium options all based on your aesthetic!
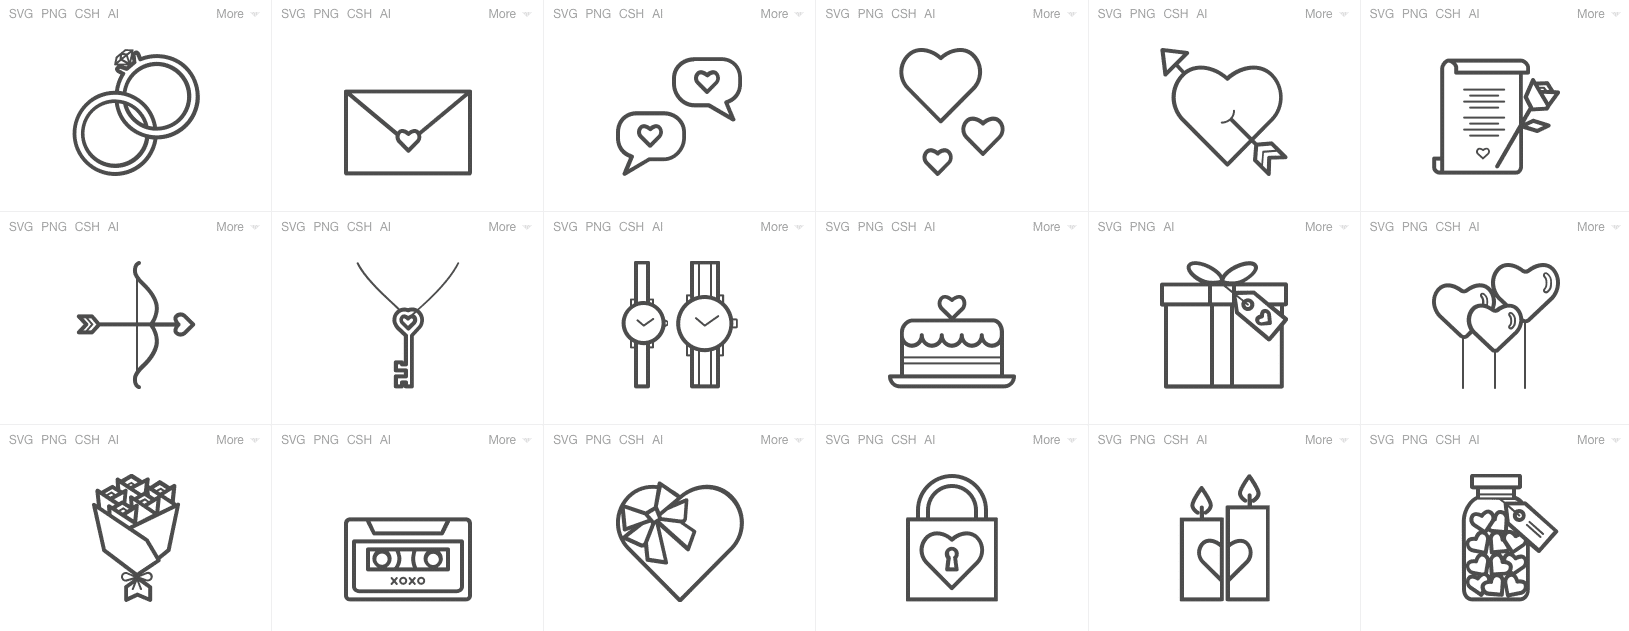
      • I personally used Canva to create my images BUT actually found my icons on IconFinder.com
      • IF you prefer to find your own icons all you have to do is go to IconFinder.com or another similar website + type in the type of icon you are looking for i.e. ‘airplane’ ‘high heel’ etc.
      • They also have tons of free + premium options to choose from, some even include sets so all of your icons look consistent but that is up to you!
        • Just click the icon you like + hit download – easy as 1,2,3!

    how to create instagram story icons, diy, instagram story diy, instagram highlight icons, instagram story icons, how to create instagram story icons, bloglovin, blogger how to, style blogger, fashion blogger, web tutorials, diy hacks, instagram hacks, instagram story diy,

    STEP 6 – Add Your Icons

    • If you are using clipart or icons you found, simply upload them to the project and place them in the center of the canvas (easier to center on Instagram this way).
    • You can also feel free to add text as well if that is something of interest however it will be tiny + hard to read on Instagram so I would recommend against it.

    how to create instagram story icons, diy, instagram story diy, instagram highlight icons, instagram story icons, how to create instagram story icons, bloglovin, blogger how to, style blogger, fashion blogger, web tutorials, diy hacks, instagram hacks, instagram story diy,

    STEP 7 – Save Your Project

    • So you can make duplicate canvas’s + then save each one with a different icon or open multiple projects using the same dimensions, completely up to you.
    • After you are finished, simply save the projects as JPEG + then you can email them to yourself or use cloud sharing or Dropbox to get them all on your phone.

    STEP 8 – Upload Your Images

    • Upload the images from your camera roll as normal parts of your insta-story
    • Then you add them to their proper highlight categories

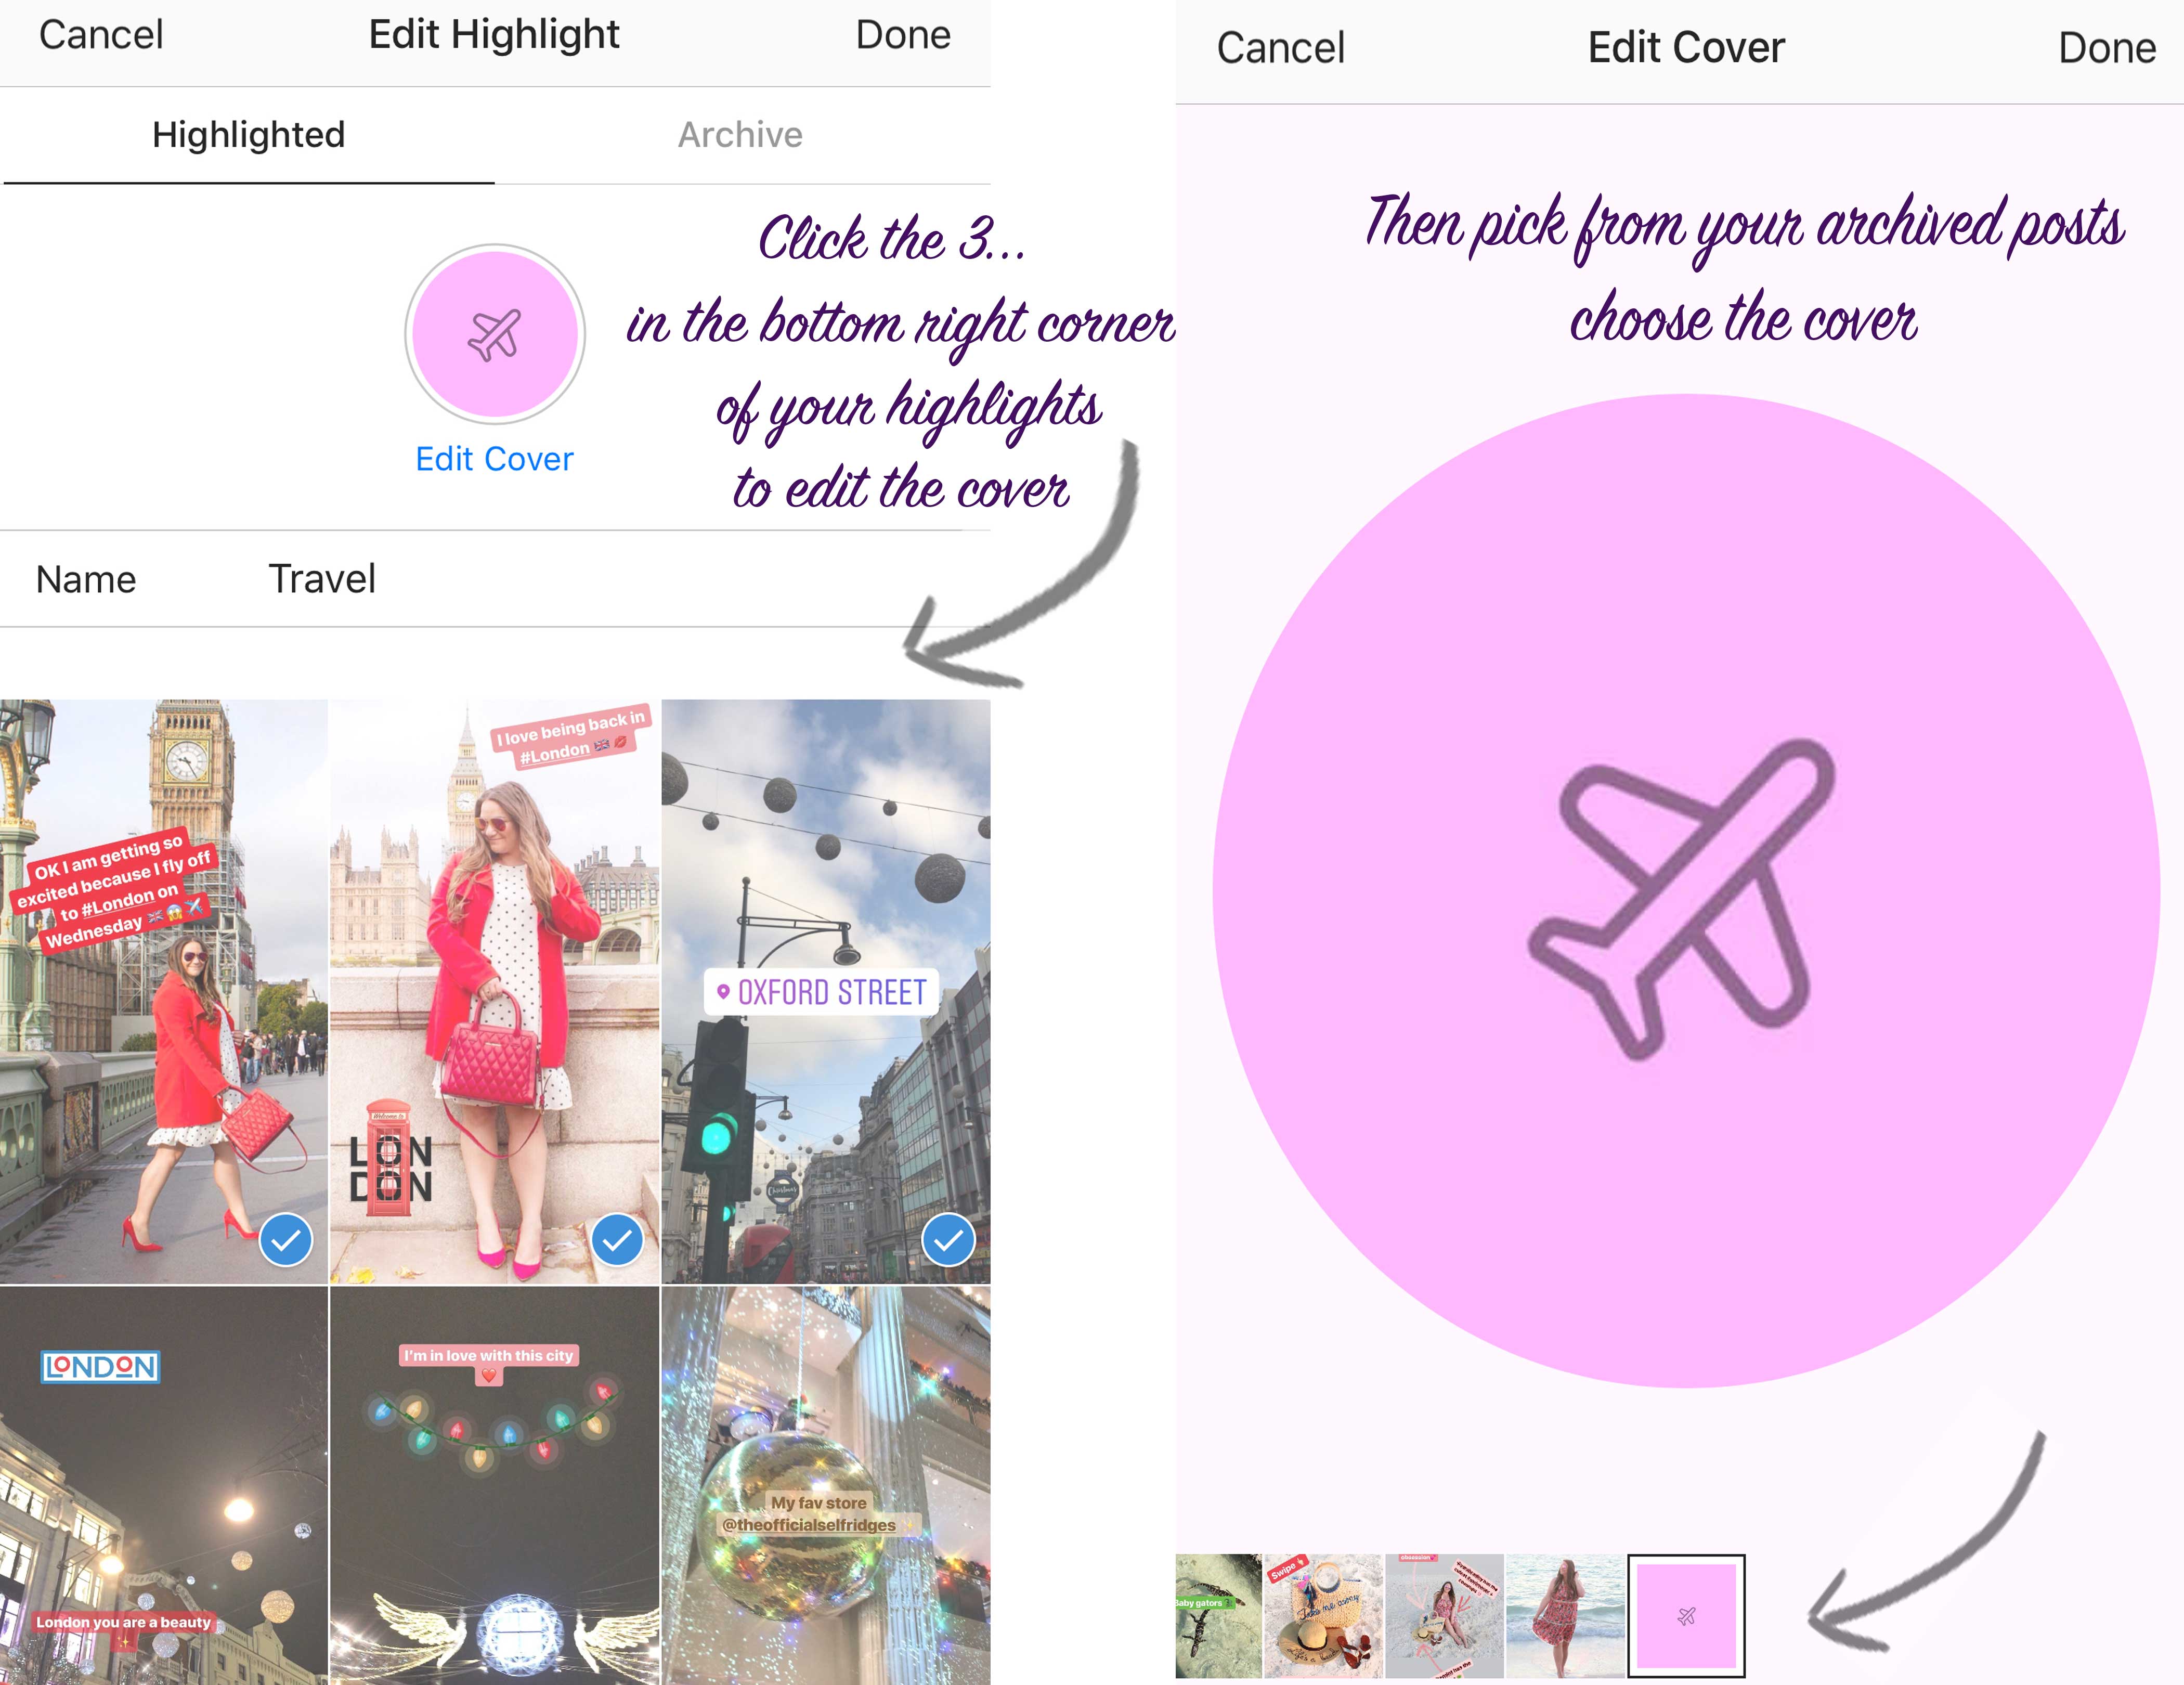
    STEP 9 – Edit Your Cover

    • Simply go to the highlight, click the bottom right corner (it’s 3 little dots like this …) + hit ‘edit highlight’
    • Choose the image you just uploaded + voila you have your cover image set!!

    how to create instagram story icons, diy, instagram story diy, instagram highlight icons, instagram story icons, how to create instagram story icons, bloglovin, blogger how to, style blogger, fashion blogger, web tutorials, diy hacks, instagram hacks, instagram story diy,

    And VOILA you are done!

    Hope this tutorial was helpful ♥

    Comments + Questions appreciated!

    Twitter | Facebook | Instagram | Pinterest | Tumblr

    logo xo signature

    Share:
    LifeStyle, Tips + Tricks

    Photo Editing 101…

    missyonmadison, missyonmadison instagram, missyonmadison blog, fashion blog, fashion blogger, style blog, style blogger, vsco, vsco presets, vsco editing, lightroom, lightroom presets, how to edit in lightroom, insta worthy photos, editing photos for instagram, bloglovin, dreamy presets, facetune, facetune editing app, airbrush app, airbrush iphone app, vsco app, lightroom mobile app, snapseed editing app, snapseed,

    Canon Rebel T6 | Canon 50 mm Lens | Dreamy Presets (promo codeMISSYONMADISON‘) | Adobe Photoshop | Adobe Lightroom | VSCO | Airbrush | Facetune | Snapseed

     Happy #NationalColorDay ya’ll!

    To celebrate one of my favorite days (because I LIVE for color), I am doing a much requested post about how I edit my Instagram + blog photos! From light + airy to bright + colorful, creating the perfect ‘feed‘ all comes down to what programs you are using to edit your photos, so I am rounding up some of my favorite apps along with what I use to snap the perfect ‘insta-worthy‘ photo!

    First thing is first…my equipment!

    http://bit.ly/2xxeobo
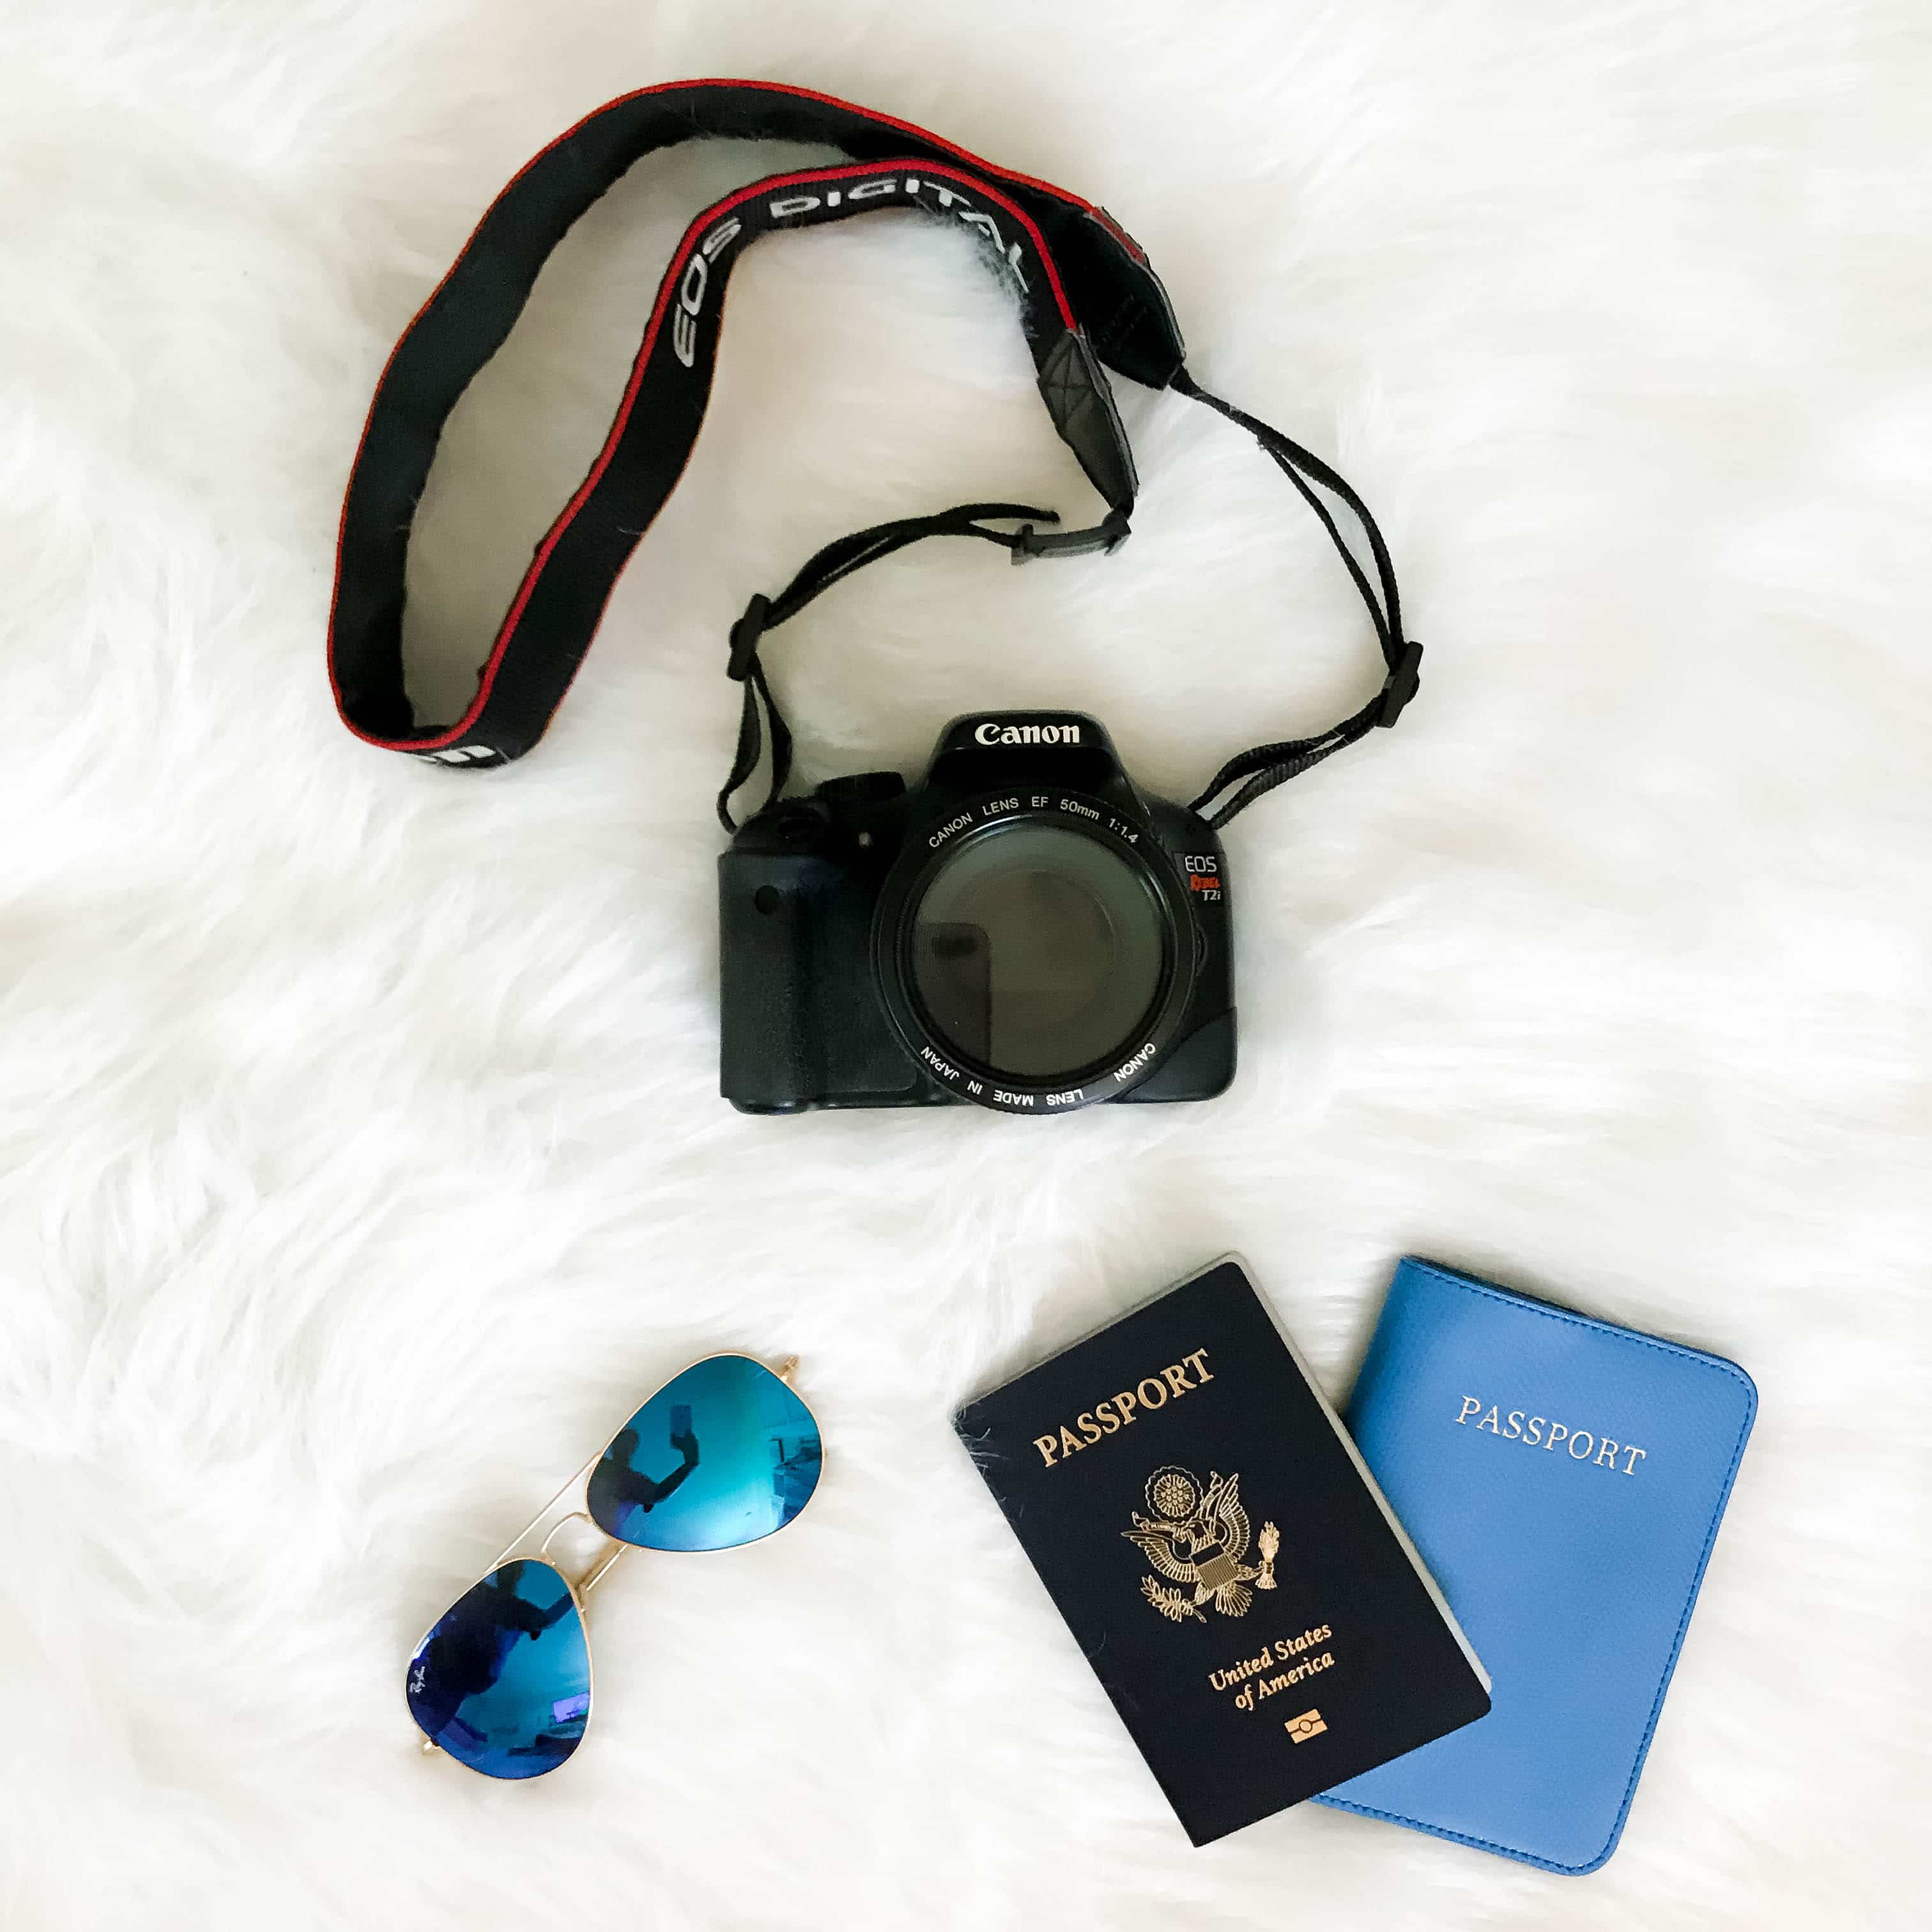
For years (and pretty much ever since I started blogging) my go-to camera has been my Canon Rebel T2i (newest version T6 available HERE). It is a nifty camera that captures the perfect shots + is under $500! While the more expensive the camera, the better the features and sharper the image, I truly feel this is the PERFECT camera for anyone wanting to get amazing quality images without breaking the bank!

    My lens of choice is the 50mm (under $150) and this helps achieve the ‘object in focus + background blurred‘ effect that so many bloggers have for their photos.

     The rebel is able to capture video in addition to photography and you can always ‘up’ it’s game by swapping out lenses and programming.

    I typically shoot a few times a week and upload directly onto my computer however if I need to post on the go, I use the Eyefi mobile memory card that connects to an app on your phone so all of the photos from the memory card sync directly onto your phone for instant editing and uploading! It is truly the best thing ever for a blogger on the go. Most cameras have built in wi-fi at this point but if your camera doesn’t, this is a great solution that is affordable (under $50).

    missyonmadison, missyonmadison instagram, missyonmadison blog, fashion blog, fashion blogger, style blog, style blogger, vsco, vsco presets, vsco editing, lightroom, lightroom presets, how to edit in lightroom, insta worthy photos, editing photos for instagram, bloglovin, dreamy presets, facetune, facetune editing app, airbrush app, airbrush iphone app, vsco app, lightroom mobile app, snapseed editing app, snapseed,missyonmadison, missyonmadison instagram, missyonmadison blog, fashion blog, fashion blogger, style blog, style blogger, vsco, vsco presets, vsco editing, lightroom, lightroom presets, how to edit in lightroom, insta worthy photos, editing photos for instagram, bloglovin, dreamy presets, facetune, facetune editing app, airbrush app, airbrush iphone app, vsco app, lightroom mobile app, snapseed editing app, snapseed,

    Now that you snapped the perfect photo, it is time to get to the editing! Below is a roundup of some of my favorite programs I use both on my computer and on mobile to edit everything from my skin to lighting to color + more!

    missyonmadison, missyonmadison instagram, missyonmadison blog, fashion blog, fashion blogger, style blog, style blogger, vsco, vsco presets, vsco editing, lightroom, lightroom presets, how to edit in lightroom, insta worthy photos, editing photos for instagram, bloglovin, dreamy presets, facetune, facetune editing app, airbrush app, airbrush iphone app, vsco app, lightroom mobile app, snapseed editing app, snapseed,

    1.Lightroom – I use Lightroom on every single photo I take. It allows you to mass edit your photos + copy and paste settings so all of the photos in your collections are consistent. I typically upload all of my photos from my iPhone + camera into Lightroom, categorize them into various collections + then get to editing. Lightroom is packed with various ‘presets‘ that are pre established editing settings helping make editing photos easier. To get more curated presets for a certain aesthetic, see programs 3 + 4!

    2.Photoshop – I mainly use Photoshop to remove unwanted objects from an image, create collages or make any more aggressive edits other than basic lighting, saturation + hue.

    3.VSCO – This is one of the most common used editing apps. This app is available on your phone and also has presets to load into your Lightroom program. Whether you are brightening, fading, saturating or more, this app has everything you need to perfect your edits.

    4.Dreamy Presets I LOVE Dreamy Presets! For the past year, all of my photos have a Dreamy Preset edit on them. I love their Santorini and Barcelona preset collections. They are easy to download and add to your Lightroom program and they make editing photos so much easier. They save me time and make all of my photos stay consistent, just look at my feed below! Head over to their site + use code MISSYONMADISON at checkout for an extra discount!

    missyonmadison, missyonmadison instagram, missyonmadison blog, fashion blog, fashion blogger, style blog, style blogger, vsco, vsco presets, vsco editing, lightroom, lightroom presets, how to edit in lightroom, insta worthy photos, editing photos for instagram, bloglovin, dreamy presets, facetune, facetune editing app, airbrush app, airbrush iphone app, vsco app, lightroom mobile app, snapseed editing app, snapseed,

    iPhone apps 4 – 6 are perfect for those ‘finishing touches’…

    5.Airbrush – I put every image I plan on posting on Instagram through Airbrush + simply hit the ‘magic wand‘ button. It instantly gives the photo an airbrushed effect + balances the color + lighting.

    6.Facetune – The Facetune app is great for smoothing your skin, fixing those out of place hairs, removing blemishes etc.

    7.Snapseed – I LOVE this app! So you know when you have a photo + only certain areas need retouching (whether it be removing shadows, adding brightness etc), well Snapseed is great for editing those hard to get areas without editing the entire photo. I use it on flatlays where the lighting may not be even, head shots where only certain spots need saturation (lips, eyes etc) + more.

    missyonmadison, missyonmadison instagram, missyonmadison blog, fashion blog, fashion blogger, style blog, style blogger, vsco, vsco presets, vsco editing, lightroom, lightroom presets, how to edit in lightroom, insta worthy photos, editing photos for instagram, bloglovin, dreamy presets, facetune, facetune editing app, airbrush app, airbrush iphone app, vsco app, lightroom mobile app, snapseed editing app, snapseed,

    PLANNING is KEY!

    In order to plan out what my Instagram feed will look like, I use an app called Planoly. It is truly a lifesaver. It allows you to see what images work best with your feed, imports your current Instagram layout + even allows you to move around photos to assure it ‘flows’ (my boyfriend hates when I ask him a million times if my feed ‘flows‘ but hey now-a-days it plays a big role in growing your Instagram audience).

    missyonmadison, missyonmadison instagram, missyonmadison blog, fashion blog, fashion blogger, style blog, style blogger, vsco, vsco presets, vsco editing, lightroom, lightroom presets, how to edit in lightroom, insta worthy photos, editing photos for instagram, bloglovin, dreamy presets, facetune, facetune editing app, airbrush app, airbrush iphone app, vsco app, lightroom mobile app, snapseed editing app, snapseed,missyonmadison, missyonmadison instagram, missyonmadison blog, fashion blog, fashion blogger, style blog, style blogger, vsco, vsco presets, vsco editing, lightroom, lightroom presets, how to edit in lightroom, insta worthy photos, editing photos for instagram, bloglovin, dreamy presets, facetune, facetune editing app, airbrush app, airbrush iphone app, vsco app, lightroom mobile app, snapseed editing app, snapseed,

    If there are other apps + programs you use I would love to hear about them!

    Be sure to comment below + I will be sure to check them out ♥

    To purchase + download my go-to programs + equipment, shop below!

    Canon Rebel T6 | Canon 50 mm Lens | Dreamy Presets (promo code for discount ‘MISSYONMADISON‘) | Adobe Photoshop | Adobe Lightroom | VSCO | Airbrush | Facetune | Snapseed

    Twitter | Facebook | Instagram | Pinterest | Tumblr

    logo xo signature

    Share:
    Fashion, Shopping Guides, Tips + Tricks

    Tips To Investing In A Designer Bag…

    missyonmadison, missyonmadison instagram, handbag day, handbag guide, investing in a designer bag, tips to saving money, tips to investing in a designer bag, chanel, chanel flap bag, gucci crossbody bag, gucci soho tote, gucci camera bag, louis vuitton, louis vuitton pouchette metis, louis vuitton speedy bag, louis vuitton neverfull, louis vuitton toiletry pouch, gucci bag, dior bag, dior, dior signature, fashion blogger, bloglovin, la blogger, style blogger, fashion blog, style blog, finance tips,

    Chanel | Gucci | Dior | Louis Vuitton

     Happy Tuesday Loves…and most importantly Happy National Handbag Day! ♥

    If I got to come up with all of the national holidays, they would pretty much always center around handbags haha Honestly what holiday is better than one where we get to celebrate handbags in all their glory? Some may think my love for designer bags is a bit crazy (just ask my boyfriend haha when I spent over an hour in Chanel during our recent trip to Paris he was not enthused to say the least haha #oops – I mean come on…it was CHANEL in Paris – how did he expect me not to have a major OMG moment? hehe :p)

    In honor of this special day haha I am sharing some of my favorite bags I have invested in over the years + I am sharing my tips to purchasing the designer bag you have been lusting after (it can happen – trust me!)

    missyonmadison, missyonmadison instagram, handbag day, handbag guide, investing in a designer bag, tips to saving money, tips to investing in a designer bag, chanel, chanel flap bag, gucci crossbody bag, gucci soho tote, gucci camera bag, louis vuitton, louis vuitton pouchette metis, louis vuitton speedy bag, louis vuitton neverfull, louis vuitton toiletry pouch, gucci bag, dior bag, dior, dior signature, fashion blogger, bloglovin, la blogger, style blogger, fashion blog, style blog, finance tips,

    The highlight of today’s post is my most recent purchase from my European excursion – my FIRST ever Chanel bag. I have literally dreamed of this moment for years + the fact that it finally happened in Paris of all places was like a fairytale moment for me haha (ok now I really do sound like a handbag addict #sorrynotsorry)

    On the subject of dreaming of a certain bag, this brings me to my first designer bag tip…

    1.Research + Save!

    There are a ton of bags out there by a ton of designers with a ton of different functions. What I find most helpful when contemplating a big handbag purchase is to evaluate when I would wear the bag, what occasion, how often etc. When spending a pretty penny on a bag you want to make sure you get good use out of it. That’s why I typically wait a couple of months before purchasing + if my lust for the bag is still there, then it is meant to be.

    I have dreamed of purchasing a classic style Chanel for years (I even set a goal for myself that I would be able to purchase one – without living out of a cardboard box hehe by the time I was 30). Why Chanel? Easy…it never goes on sale, it will always retain it’s value + other than Hermes (which is my next goal haha), it is pretty much the best of the best when it comes to an investment designer bag to purchase ♥

    missyonmadison, missyonmadison instagram, handbag day, handbag guide, investing in a designer bag, tips to saving money, tips to investing in a designer bag, chanel, chanel flap bag, gucci crossbody bag, gucci soho tote, gucci camera bag, louis vuitton, louis vuitton pouchette metis, louis vuitton speedy bag, louis vuitton neverfull, louis vuitton toiletry pouch, gucci bag, dior bag, dior, dior signature, fashion blogger, bloglovin, la blogger, style blogger, fashion blog, style blog, finance tips,

    That brings me to this beauty…the Louis Vuitton Pouchette Metis. I have been lusting after this bag for a YEAR, yes no joke a year! When my boyfriend first got to London, I asked him to visit Louis Vuitton to see if it was available anywhere in the UK since I had been on waitlist status at LV in the US for months. Lucky enough…I got lucky in the good ole’ UK + the rest is…well history hehe and a good story!

    Why was I lusting after this bag? Easy – it is a classic style that is perfect for everyday wear + because it is such a commodity to get your hands on now-a-days, it retains it’s value (yes ladies + gents, handbags are an investment :p)

    This brings me to investing in a designer bag Tip #2…

    2.Carefully choose your style!

    This may sound silly, but this ties back to tip one…it is quite important to think carefully before picking you color, pattern or print of bag. For example, Gucci has been very eclectic lately…meaning the bags are brightly colored with funky patterns etc. Those styles are a trend, they will not be in style 5 years from now (let alone a year from now) however, a simple black Chanel bag or signature monogram Louis Vuitton will rarely got out of style since they are classic styles that aren’t ‘trendy‘ per say :p

    missyonmadison, missyonmadison instagram, handbag day, handbag guide, investing in a designer bag, tips to saving money, tips to investing in a designer bag, chanel, chanel flap bag, gucci crossbody bag, gucci soho tote, gucci camera bag, louis vuitton, louis vuitton pouchette metis, louis vuitton speedy bag, louis vuitton neverfull, louis vuitton toiletry pouch, gucci bag, dior bag, dior, dior signature, fashion blogger, bloglovin, la blogger, style blogger, fashion blog, style blog, finance tips,

    Tip #3…

    3.Bigger is ALWAYS Better!

    Hey now, get your mind out of the gutter hehe I am referring to the size of the…bag! Do you ever go to the movie theater + the person at the concession stand tells asks you ‘Would you like to upgrade your combo to a large for just $.50 more?‘ 9 times out of 10 you say yes don’t ya? Why? Because it’s a no brainer, for a little amount more you get double the serving. Funny enough, that same logic applies to purchasing a designer bag.

    I didn’t start buying ‘smaller’ designer bags till this last year – after I already invested in larger bags that have tons of room + functionality. Usually the next size up when it comes to designer bags varies between a few hundred dollars, so if you are iffy on whether you need the extra space or not, I always say GO FOR IT! I have never heard anyone regret going a little bit bigger + having the extra room.

    missyonmadison, missyonmadison instagram, handbag day, handbag guide, investing in a designer bag, tips to saving money, tips to investing in a designer bag, chanel, chanel flap bag, gucci crossbody bag, gucci soho tote, gucci camera bag, louis vuitton, louis vuitton pouchette metis, louis vuitton speedy bag, louis vuitton neverfull, louis vuitton toiletry pouch, gucci bag, dior bag, dior, dior signature, fashion blogger, bloglovin, la blogger, style blogger, fashion blog, style blog, finance tips,

    Funny enough – my first job when I was 14 was scooping popcorn at my local movie theater (so I used to have to up sell everyone to a large combo haha) Anyways, with all of those up sells, I would get a $.25 commission added to my paycheck…I saved up all of those checks to purchase my first Dior bag the summer before I started high school! And that brings me to my next ‘tip’ or rather fun fact…

    4.Every Bag Has A Story!

    My bags always have a story behind them. I can tell you where I purchased it, why, when, etc. I usually buy one new designer bag a year + each bag is a milestone for me. For example, the Dior above was the first designer bag I purchased for myself ever.

    Below is the Gucci bag I bought on Rodeo Drive when I first moved to LA…every bag tells a story, which makes them so meaningful to me as corny as that sounds…

    missyonmadison, missyonmadison instagram, handbag day, handbag guide, investing in a designer bag, tips to saving money, tips to investing in a designer bag, chanel, chanel flap bag, gucci crossbody bag, gucci soho tote, gucci camera bag, louis vuitton, louis vuitton pouchette metis, louis vuitton speedy bag, louis vuitton neverfull, louis vuitton toiletry pouch, gucci bag, dior bag, dior, dior signature, fashion blogger, bloglovin, la blogger, style blogger, fashion blog, style blog, finance tips,missyonmadison, missyonmadison instagram, handbag day, handbag guide, investing in a designer bag, tips to saving money, tips to investing in a designer bag, chanel, chanel flap bag, gucci crossbody bag, gucci soho tote, gucci camera bag, louis vuitton, louis vuitton pouchette metis, louis vuitton speedy bag, louis vuitton neverfull, louis vuitton toiletry pouch, gucci bag, dior bag, dior, dior signature, fashion blogger, bloglovin, la blogger, style blogger, fashion blog, style blog, finance tips,

    Below are some of my current favorite bags I have purchased over the years…What is your favorite bag story?

    Also, check out my roundup of designer ‘going out bags’ under $1,000 HERE

    Twitter | Facebook | Instagram | Pinterest | Tumblr

    logo xo signature

    Share: